Top 17 Mesmerizing Nail Art Trends To Try This Year
Feeling stuck in a nail rut? Same here. My Pinterest board was basically crying out for something fresh.
So, I went full detective mode (past the usual glitter mountains) and wow, I found the absolute best 17 designs for us.
Forget playing it safe; we’re talking showstopping chrome, moody florals, latte art you can wear, and even some subtle tricks that’ll make everyone ask, “Wait, how?!”
Ready to find your next mani obsession? Let’s dive into the good stuff!
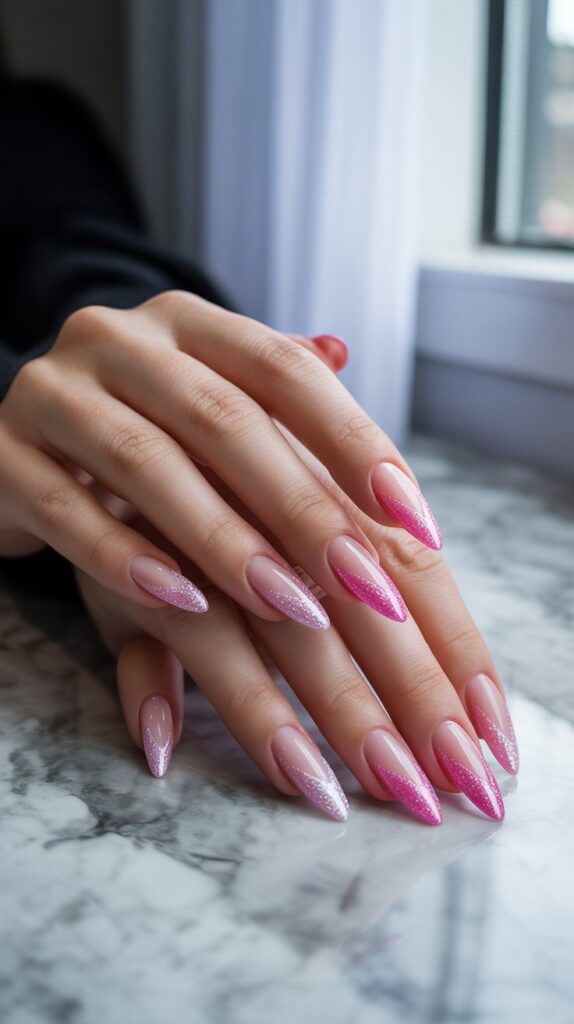
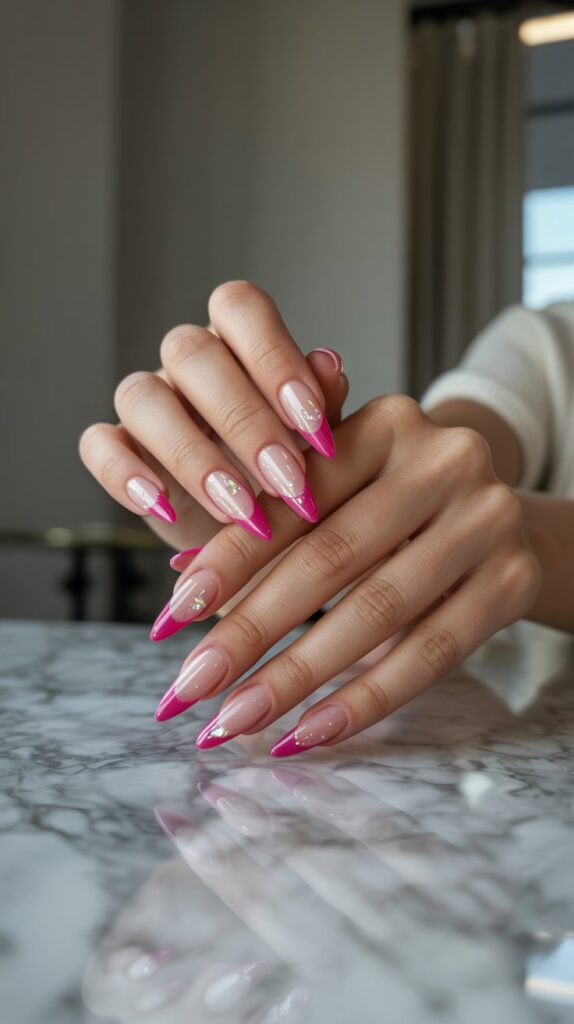
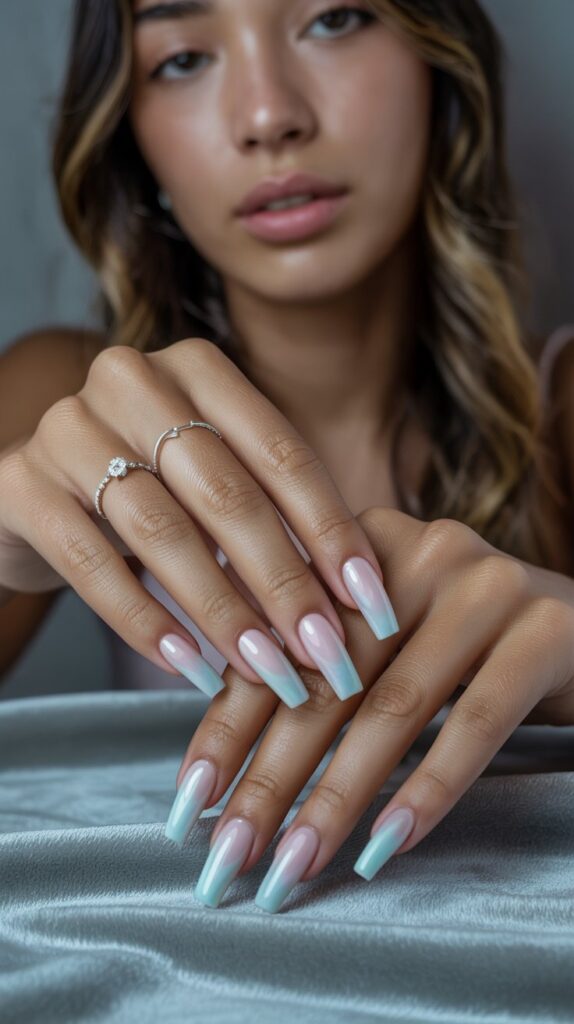
1. Micro French with a Color Pop Twist
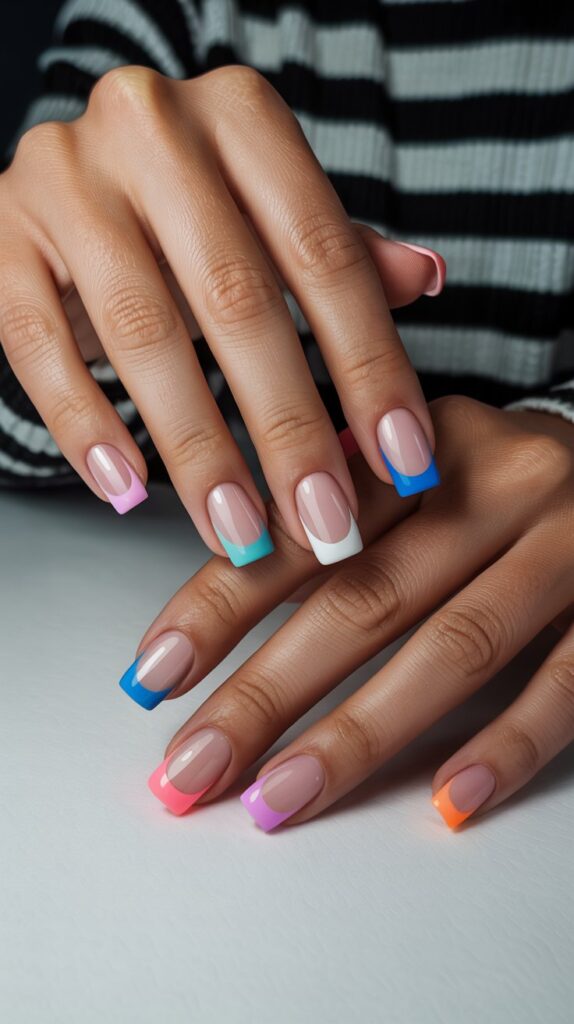
Ditch the stark white. This is the French mani’s cooler, younger sibling. Think whisper-thin tips in unexpected shades like electric lime, molten gold, or even a soft lavender.
Why it’s a total vibe:
- Super chic and elongates fingers like magic.
- Way less intimidating than a full-color mani if you’re easing back in.
- Perfect for work and weekend brunch – it’s the ultimate chameleon.
- Seriously low-maintenance as it grows out.
Pro tip: Ask your tech for the thinnest possible brush for the tip line. Precision is key here! A thick line ruins the delicate vibe.
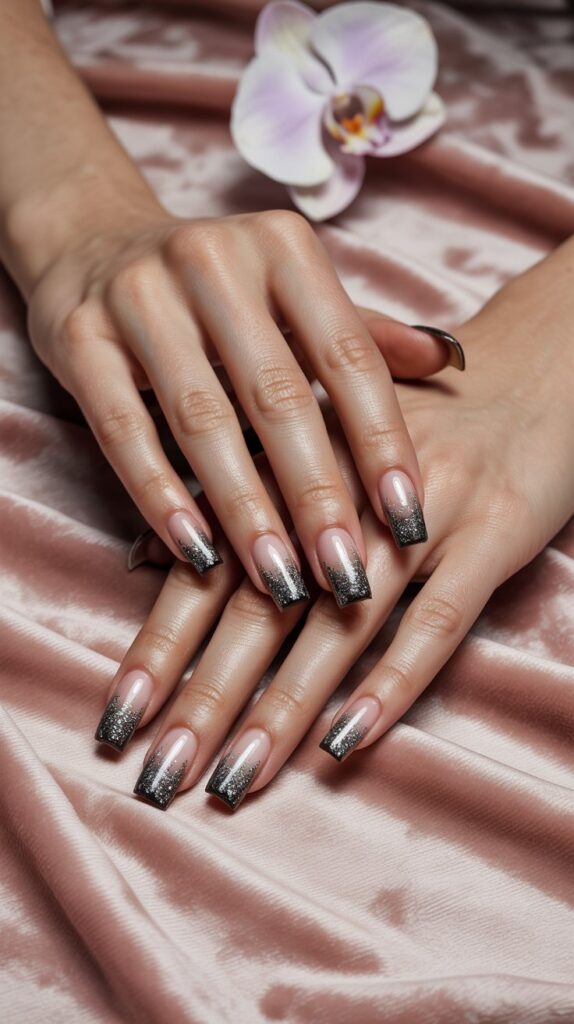
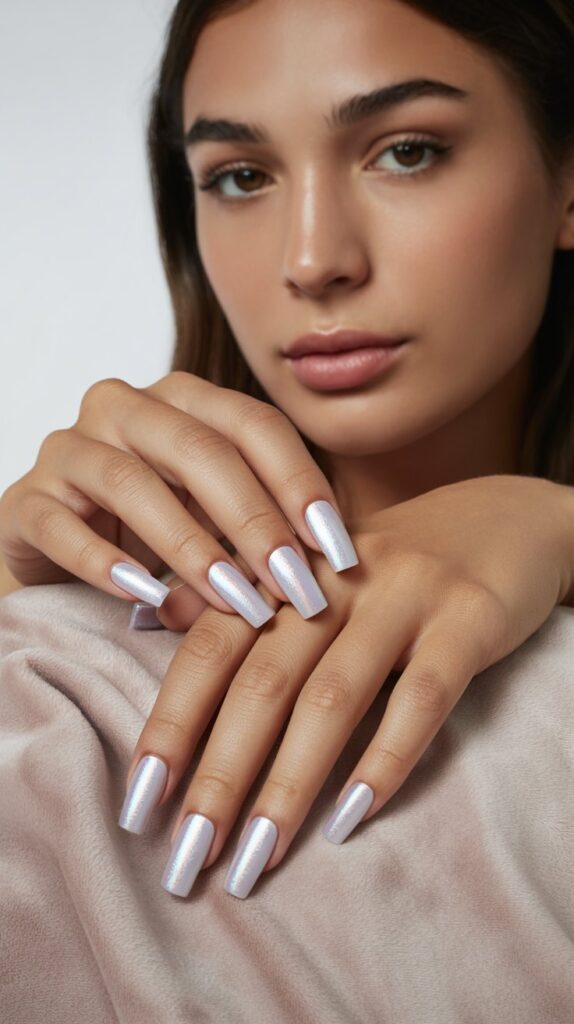
2. Chrome Over Everything
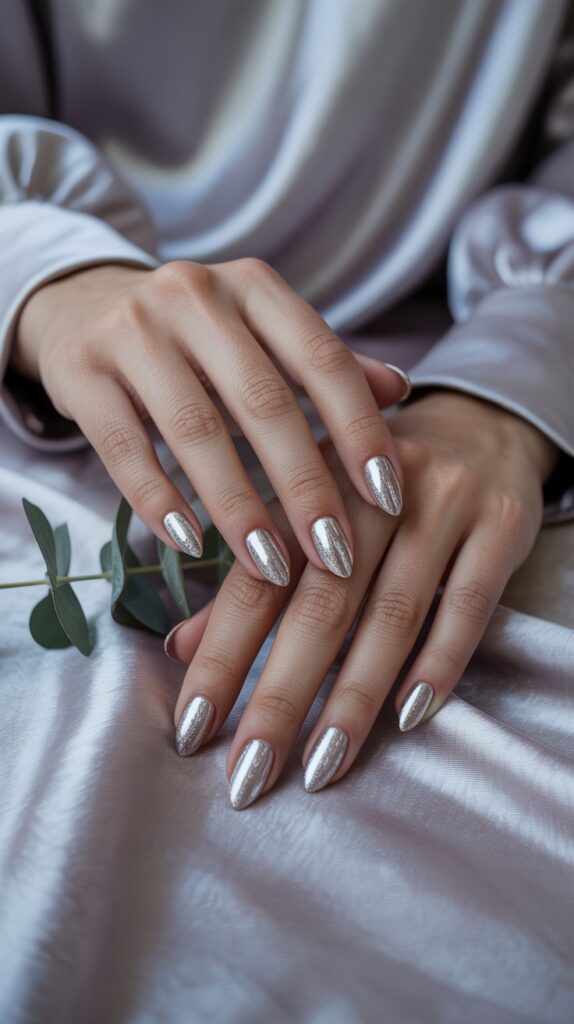
Move over, matte. Chrome is having a major moment, and it’s not just for silver. We’re talking rose gold, holographic shifts, deep blues – name a color, chrome it!
How to get the mirror finish:
- Start with a perfectly smooth base color (usually black or a deep shade makes the chrome pop hardest).
- Apply the chrome powder immediately after your no-wipe top coat while it’s still tacky.
- Buff it in gently with the applicator sponge – no rubbing like you’re polishing shoes!
- Seal it with another thin layer of top coat (but avoid brushing too hard or you’ll dull the shine).
Personal fave: I’m obsessed with a burgundy base with rose gold chrome. It looks like expensive jewelry on my nails. Got stopped three times at the grocery store asking about it.
3. Abstract Negative Space
Let your natural nail peek through! This trend is all about artful, often asymmetrical, designs leaving parts bare. Think painterly swirls, geometric cut-outs, or organic blobs.
Why it works so well:
- Looks modern, artsy, and super intentional.
- Feels lighter and more breathable than full coverage.
- Makes a shorter nail look super chic and deliberate.
- Endless possibilities for color combos and shapes.
Story time: My first attempt looked like a toddler attacked my nails with white polish. Lesson learned: Start simple! Clean lines or minimal color blocking in negative space is easier to nail (pun intended) than freehand abstract art.
4. Jelly Sandwich Nails
Remember jelly shoes? This is the nail version, but way cuter. It involves layering sheer “jelly” polishes (often with glitter suspended inside) to create a deep, squishy, translucent effect.
How to build the delicious layers:
- Start with a thin, sheer base coat (pink, peach, or clear work great).
- Apply 1-2 thin layers of your chosen jelly polish (think glowy reds, soft blues, vibrant oranges).
- Add a layer of fine glitter or shimmer polish.
- Top with another layer of jelly polish to “sandwich” the glitter.
- Seal with a glossy top coat for maximum squish.
Downside: Achieving that perfect, bubblegum-like depth can take several thin layers = drying time galore. Patience is key!
5. Tiny 3D Embellishments (Minimalist Style)
Forget the chunky gems of 2010. We’re talking micro pearls, itsy-bitsy metallic dots, or a single, perfectly placed gold flake per nail. Less is so much more.
Design ideas to steal:
- A single tiny pearl near the cuticle on a nude base.
- Mini silver balls forming a subtle crescent moon on a dark polish.
- A sprinkle of iridescent micro-glitter just on the ring finger.
- Perfect for adding a whisper of texture without going overboard.
Pro move: Use a dotting tool dipped in nail glue for precise placement. Tweezers work too, but my hands shake like a leaf! Seal those little guys in really well with top coat.
6. Mismatched Mani (But Make it Cohesive)
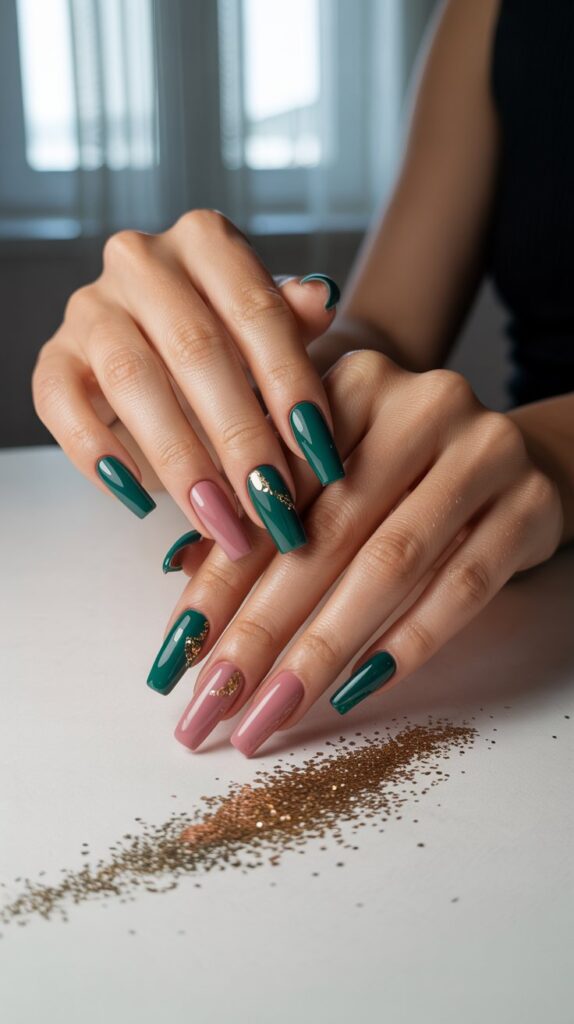
Who says all nails need to match? This trend celebrates individuality on each finger, but with a unifying theme, color palette, or element to tie it all together.
Why it’s a must-try:
- Lets you try multiple trends in one go! Win-win.
- Feels playful, personal, and expressive.
- A great way to feature an accent nail without it feeling random.
- Takes the pressure off perfection – each nail is its own mini canvas.
Personal take: I usually pick 2-3 core colors and maybe one pattern (like stripes or dots) that repeats on a couple of fingers. Keeps it from looking chaotic. My current fave combo: milky white, chocolate brown, and a single tortoiseshell print nail.
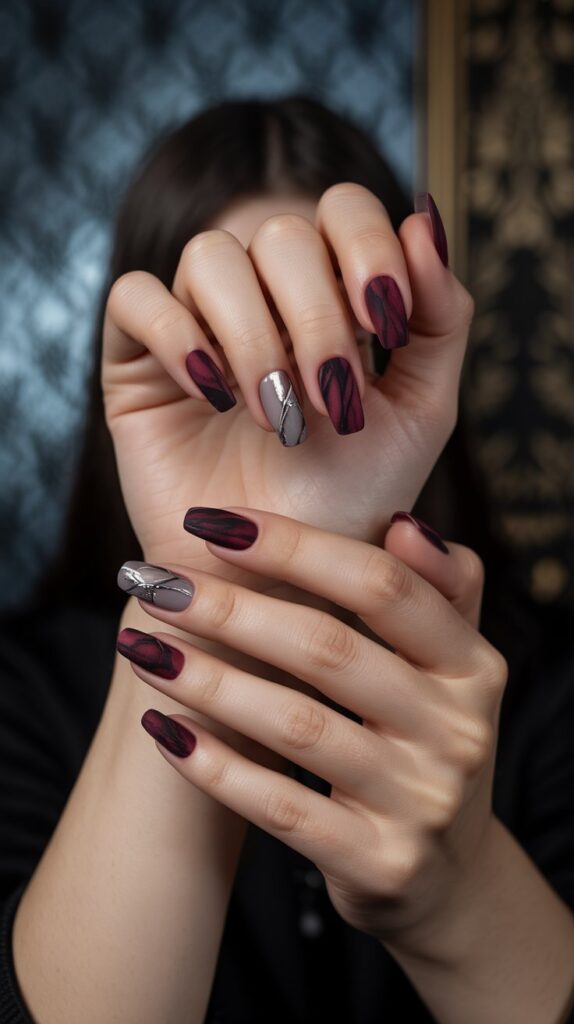
7. Moody Florals
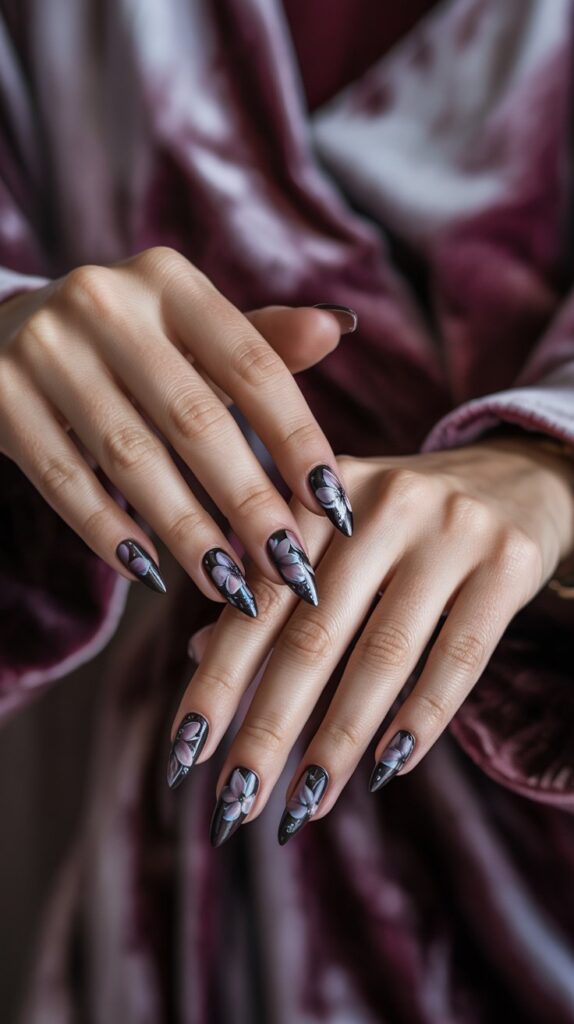
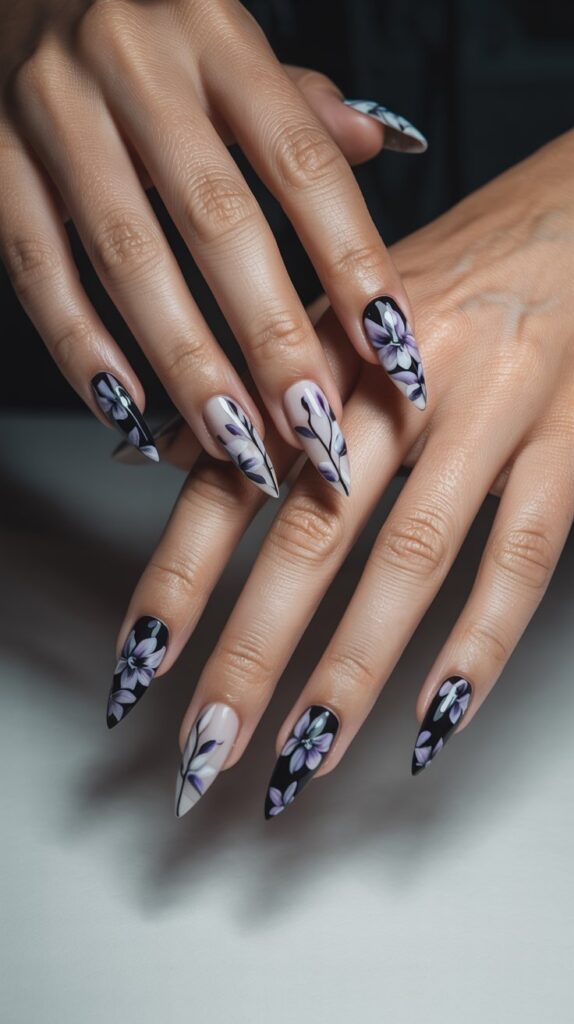
Forget ditsy daisies. Think dark backgrounds (navy, deep plum, black, forest green) with moody, painterly florals – like antique botanical illustrations come to life.
How to nail the dark bloom look:
- Start with a rich, opaque base color.
- Use a thin brush or dotting tool for petals and leaves. Imperfections add charm!
- Stick to 2-3 floral colors max for sophistication (e.g., deep red, burnt orange, cream).
- Bonus points for adding a single tiny gold accent line or dot.
Personal fave: Deep emerald green base with burgundy and cream florals. Feels like a secret garden on my fingertips. Surprisingly versatile too!
8. Graphpaper Nails
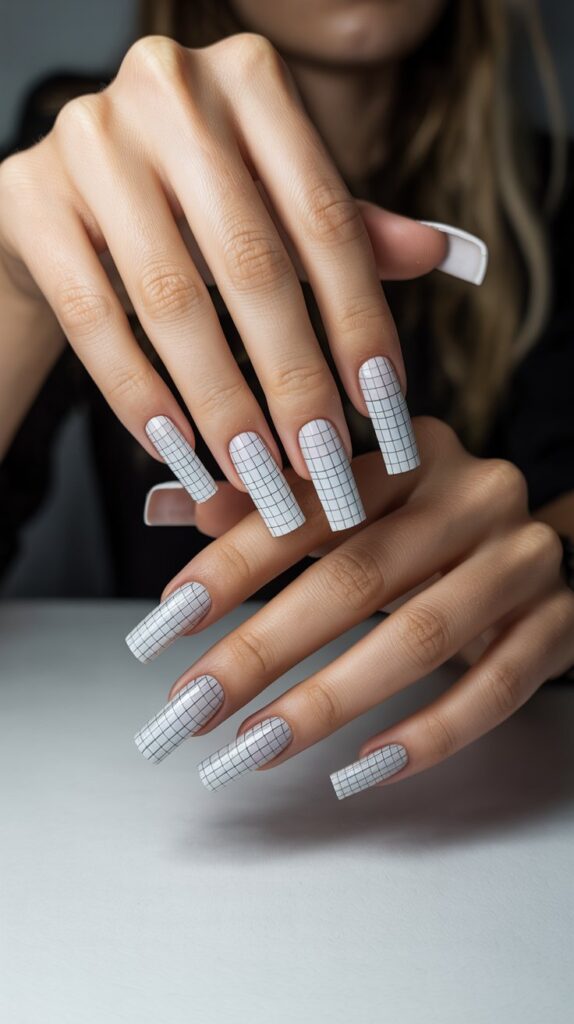
Nostalgia alert! This trend mimics the blue lines and grids of classic graph paper, often with a minimalist design sketched on top. Think check marks, tiny hearts, or geometric shapes.
Design ideas:
- Classic blue lines on a white or off-white base.
- A single grid square filled with color on each nail.
- Use the grid lines as guides for tiny Xs, O’s, or even micro-writing.
- Clean, crisp, and quietly nerdy-cool.
Pro tip: Nail striping tape is your absolute best friend for getting those lines straight. Trying to freehand it? Bless your heart, but trust me, use the tape.
9. “Latte Nails” Perfected
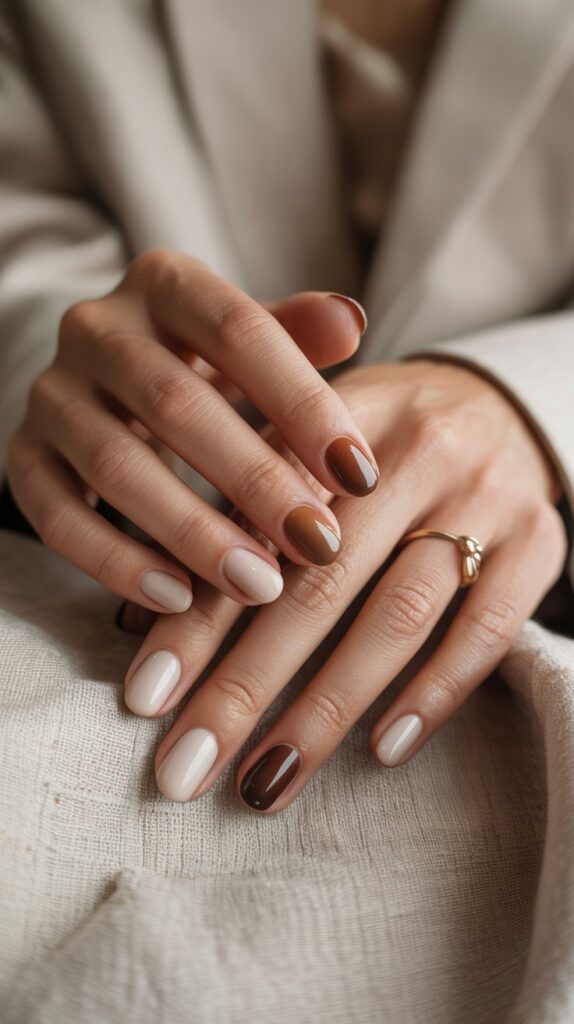
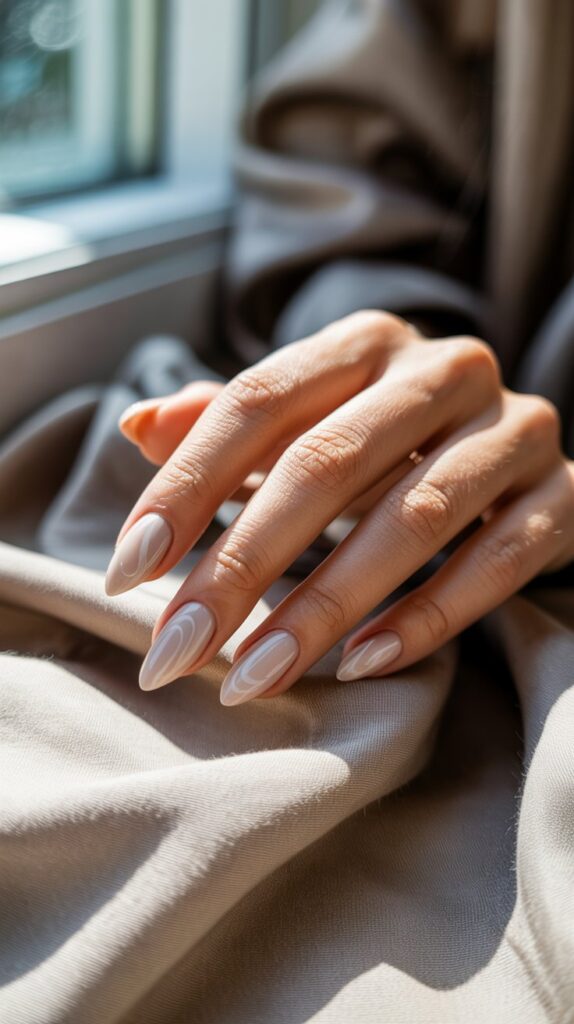
The cozy coffee-inspired mani got an upgrade. It’s not just beige anymore! Think creamy bases with subtle swirls of caramel, chocolate brown, or even a hint of frothy white, often with glossy finishes that mimic a coffee sheen.
Why it works year-round:
- Ultra-sophisticated and goes with literally everything.
- Looks expensive and well-manicured.
- The neutral tones are universally flattering.
- Feels warm and inviting, like your favorite mug.
Pro move: Ask for a “smudged” or “cloudy” effect with the darker shades – it gives that perfect steamed-milk look. A glossy top coat makes it look just poured.
10. Reverse Glitter Ombré
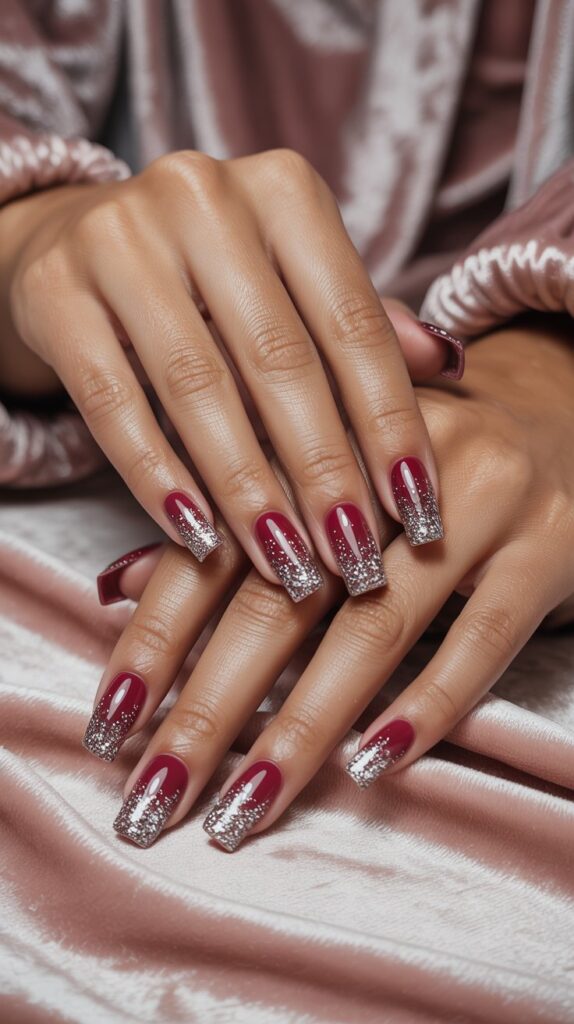
Glitter gradient, but backwards! Instead of concentrated at the tip, the glitter fades down from the cuticle, getting denser as it moves up. It’s like a magical glitter growth.
How to create the magic:
- Paint your nails with the base color (darker shades make the glitter pop).
- Apply a generous amount of glitter polish near the cuticle area.
- Use a clean, slightly damp sponge to gently dab and pull the glitter down the nail, creating a fade.
- Seal with a thick top coat to smooth everything out.
Personal fave: Deep navy base with a silver or holographic glitter reverse ombré. Feels celestial and surprisingly elegant for so much sparkle!
11. Modern Metallics (Not Just Foil)
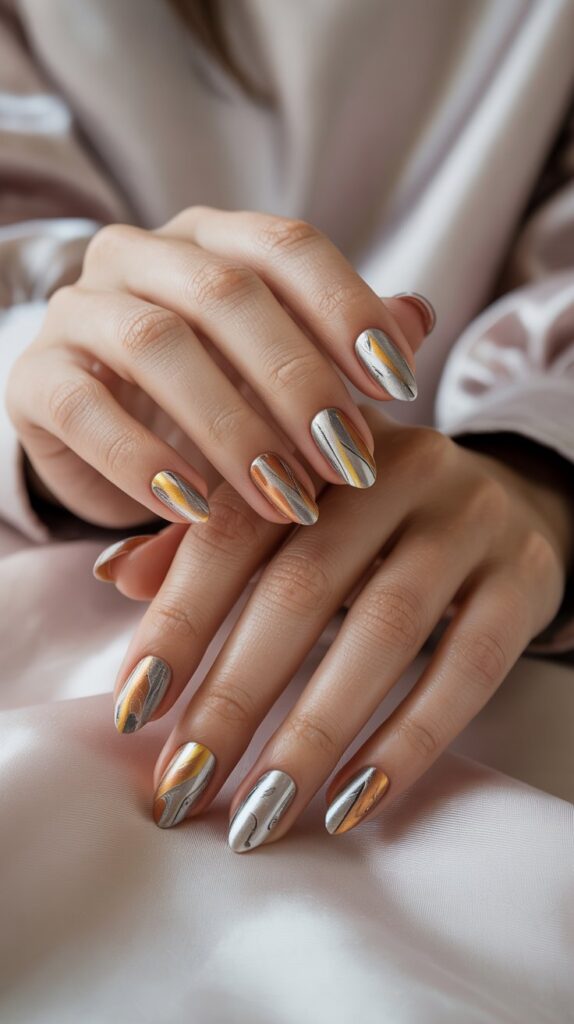
Beyond chrome and foil, we’re seeing stunning metallic finishes with texture and depth. Think brushed metals, hammered effects, or molten liquid metal looks.
Design ideas:
- A single accent nail in a “brushed gold” finish.
- Molten silver poured over a black base.
- Mixing matte and metallic on the same nail for contrast.
- Super futuristic and eye-catching.
Downside: Some textured metallic polishes can be tricky to apply evenly. IMO, it’s worth getting this one done professionally for the smoothest, most realistic effect.
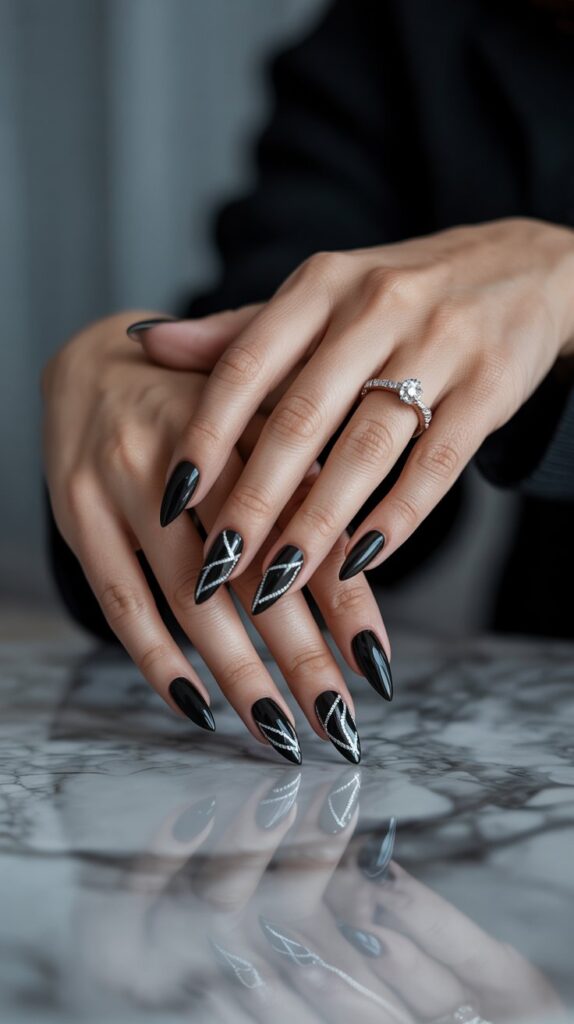
12. Soft-Goth Velvet Nails
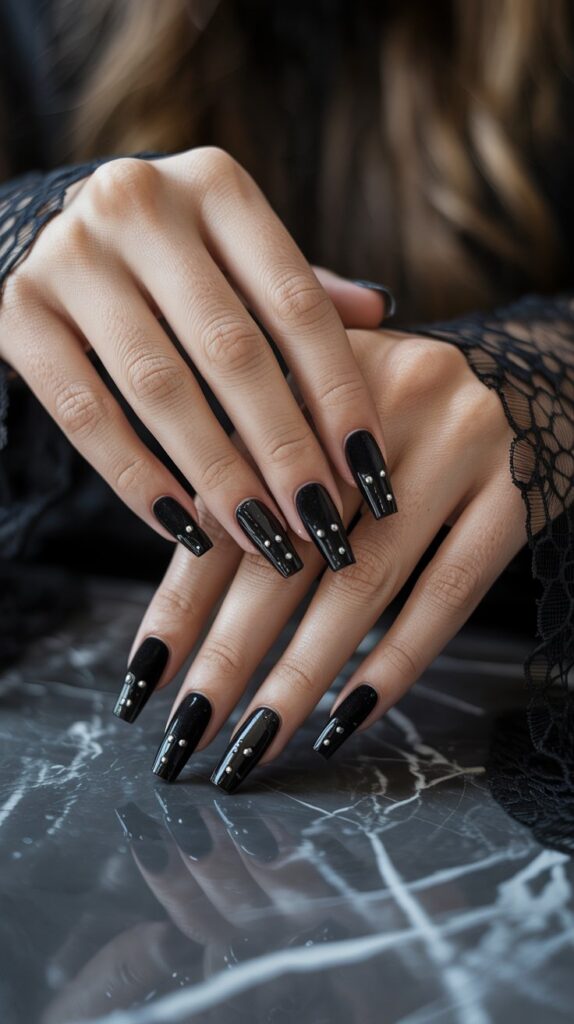
Matte black is eternal, but this year it’s getting a luxe twist. Imagine deep, velvety matte finishes – think charcoal, oxblood, or even dark emerald – that look plush and rich.
Why it’s a must-try:
- Instantly adds an air of sophisticated mystery.
- The matte finish feels modern and luxe.
- Perfect for fall/winter, but honestly, I rock dark matte year-round.
- Looks amazing on all nail lengths.
Pro tip: A perfect matte top coat is non-negotiable. Any shine ruins the velvet effect. Keep your hands moisturized – matte can sometimes emphasize dry cuticles.
13. “Stained Glass” Nails
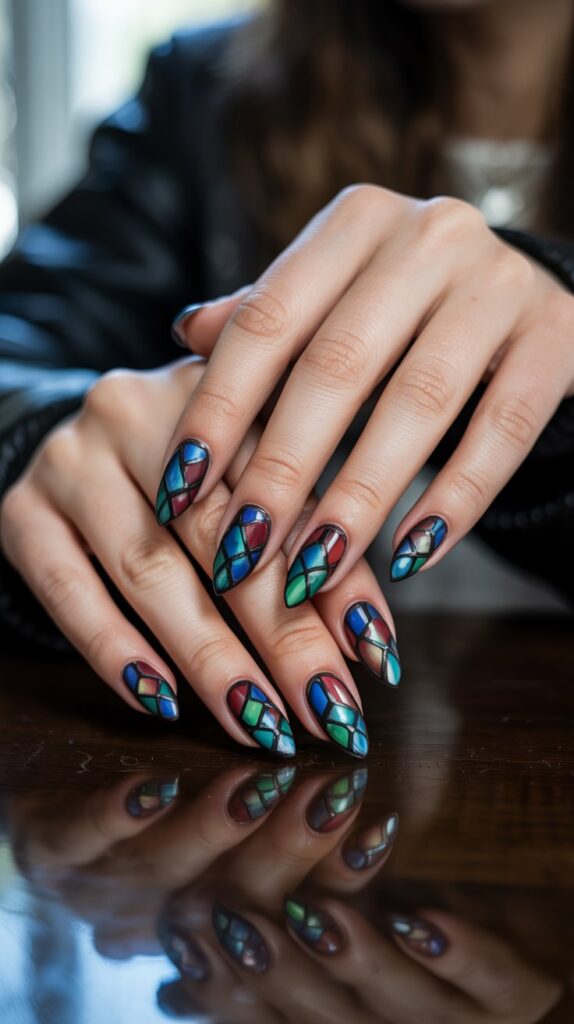

Vibrant, jewel-toned colors outlined in black, mimicking the look of leaded stained-glass windows. It’s bold, artistic, and utterly stunning.
How to get the leaded look:
- Paint your base color(s) – use bold, saturated shades like ruby red, cobalt blue, emerald green.
- Once completely dry, use a super fine nail art brush or striper to outline “panes” in black.
- Keep the shapes abstract or geometric – perfection isn’t the goal!
- Seal with a high-gloss top coat to mimic glass.
Personal fave: This one takes time and a steady hand, but the result is pure art. Worth every penny at the salon! Looks incredible on a coffin or almond shape.
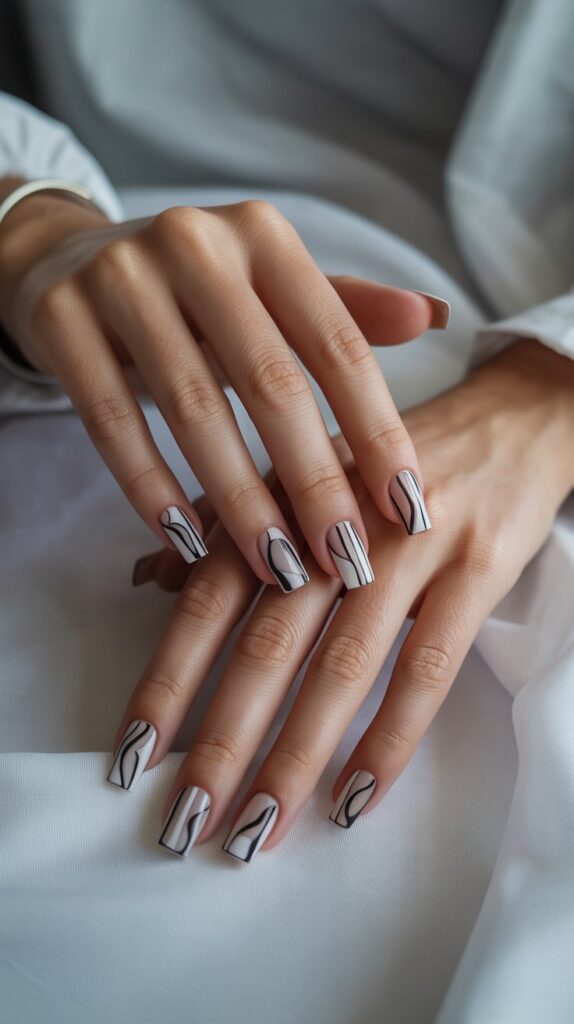
14. Minimalist Line Art
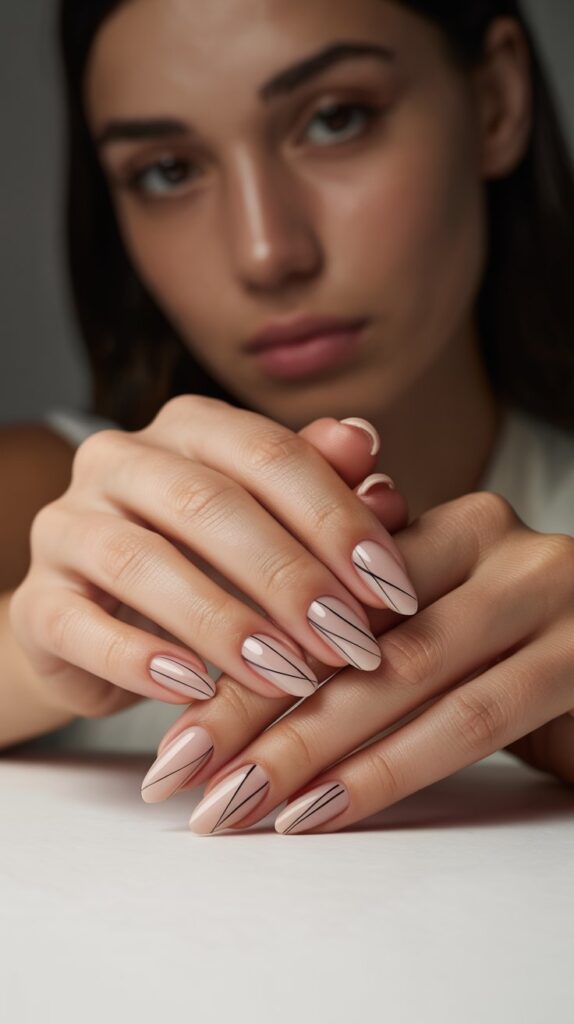
Think single, perfectly placed lines – horizontal, vertical, diagonal, or curved – in a contrasting color. Often on a neutral base. It’s the epitome of less-is-more chic.
Design ideas:
- A single thin gold line across the base of the nail.
- Parallel white lines near the tip on a nude base.
- A curved black line swooping across a milky white nail.
- Clean, modern, and effortlessly cool.
Pro move: Nail tape is essential for crisp, clean lines. Freehanding a perfectly straight line? Maybe you can, but I definitely can’t! Press the tape down firmly to prevent bleeding.
15. Frosted Pastels
Move over, Easter egg brights! Frosted pastels have a soft, slightly hazy, almost ethereal quality. Think milky lavender, powdery blue, mint green, or soft peach with a subtle, non-sparkly shimmer.
Why it works:
- Gives pastels a sophisticated, grown-up twist.
- The frosted finish is flattering and softens the color.
- Perfect for spring and summer, but feels fresh anytime.
- Looks especially beautiful on shorter nails.
Personal take: I love frosted pastels for a “my nails but better” look that still has a bit of magic. Less boring than a creme, less flashy than glitter. Just right!
16. Whisper-Thin Outlines
Similar to minimalist line art, but specifically outlining the nail edge or cuticle in a fine, contrasting line. Often metallic or white. It’s like a subtle frame for your nail.
How to nail the subtle detail:
- Use a very fine nail art brush or a striping polish pen.
- Choose a sharp contrast: white on dark colors, gold/silver on lights or neons, black on brights.
- Steady your hand! This requires precision. Rest your pinky on the table.
- Works best on well-shaped, filed nails.
Pro tip: If your hand wobbles (no shame!), start the line slightly on the skin at the sidewall and drag it onto the nail for a cleaner start. Clean up any mistakes with a tiny brush dipped in acetone.
17. Dimensional Glaze Nails
Inspired by ceramics and pottery glazes! Think glossy, translucent colors layered to create depth and movement, often with subtle color shifts or suspended particles, mimicking the look of glazed clay.
Why it’s mesmerizing:
- Creates incredible depth and a liquid-like appearance.
- The translucent layers feel modern and unique.
- Often uses unexpected, earthy, or jewel-toned combinations.
- Looks like a tiny work of art on each nail.
Personal fave: This is high-level nail art, best left to a talented tech. I saw a deep teal layered over a rusty orange base that looked like an ancient ocean relic. Mind. Blown. Worth the splurge for a special occasion!
Lets Wrap It Up
That was a whirlwind tour of pure nail inspiration, wasn’t it?
From the barely-there whisper of micro-French to the full-on art gallery vibes of stained glass, there’s seriously something for every mood and moment this year.
Honestly? My own wishlist just got about ten items longer. That dimensional glaze look is calling my name for my next vacay, and I can never resist a good chrome moment.
But the beauty is, you get to pick what makes your heart (and fingertips) leap with joy. So, go unleash your inner nail artist. The world deserves to see your masterpiece!
P.S: Seriously, send me pics when you try one! I live for nail-spiration.