Everything You Need to Know About Acrylic Nails
So, you’re thinking about acrylic nails? Let’s spill the tea without sugar-coating, just the real deal.
Are you a newbie dreaming of Insta-worthy claws or a seasoned pro fed up with your tips snapping like dry spaghetti?, I’ve got you covered.
I’ve survived and thrived through years of acrylic adventures (and a few disasters involving superglue and regret).
Let’s dive into the glittery, sometimes-gritty world of acrylics.
What Are Acrylic Nails?
Let’s start with the basics. Acrylic nails are a mix of liquid monomer and powder polymer that hardens into, you guessed it, a durable layer over your natural nail.
Think of it as building a tiny, fabulous shield. The magic happens when the liquid and powder combine, creating a chemical reaction that forms a moldable, rock-hard substance.
It’s like Play-Doh for adults, but with way higher stakes (and less mess… usually).
The Science Behind the Sparkle
Acrylics aren’t just a TikTok trend, they’ve been around since the 1970s.
Dentists originally used acrylic materials for dental prosthetics (weird flex, but okay), and some genius thought, “Hey, let’s put this on fingernails!” The result? A beauty revolution that lets you flip off haters with style.
The Process: No Magic, Just Science (and Patience)
Getting acrylics isn’t a quick swipe of polish. Here’s the rundown:
- Prep Work: Your natural nails get buffed, cleaned, and prepped. (Pro tip: If your tech skips this step, run. 🚩)
- Forms or Tips: They’ll attach plastic tips or use forms to extend your nails.
- Liquid & Powder: The tech brushes on liquid monomer, dips into powder, and sculpts your nail. Repeat until you’ve got length and shape.
- Shaping & Polishing: Once hardened, they’re filed, buffed, and polished to perfection.
FYI: The smell? Yeah, it’s strong. But hey, beauty is pain (and mildly toxic fumes, apparently).
Pros vs. Cons: Is the Glam Worth the Drama?
Acrylics are like that high-maintenance friend who’s fabulous but exhausting. Sure, they’ll make you the star of every group photo, but they’ll also demand your time, money, and loyalty.
Before you commit, let’s weigh the glittery highs against the “why did I do this?” lows. Spoiler: It’s not all doom and gloom—just know what you’re signing up for.
The Good Stuff:
- Durability: These babies won’t chip if you so much as glance at a doorknob.
- Customization: Want stiletto talons or coffin-shaped claws? Done.
- Length Fix: Perfect for chronic nail-biters or anyone cursed with brittle nails (guilty).
- Long-Lasting: With fills every 2–3 weeks, you’re set for months.
The Not-So-Good:
- Damage Risk: Rip them off yourself, and you’ll mourn your natural nails for weeks.
- Maintenance: Fills aren’t optional unless you want the “grown-out zombie” look.
- Cost: Budget for $50–$100+ initial sets, plus $30–$60 fills.
- Nose Assault: Smell lingers like your ex’s cologne—nostrils revolt!
Acrylic vs. Gel: The Ultimate Showdown

Okay, let’s settle this once and for all: acrylics and gels are the Beyoncé and Rihanna of the nail world—both iconic, but very different vibes.
If you’ve ever stood in a salon sweating over this choice, you’re not alone. Acrylics are the OG heavyweights, while gels are the sleek new(ish) kids on the block.
But which one deserves your loyalty (and cash)? Let’s break it down like we’re judging a nail-art battle royale.
Acrylics:
- Stronger: Ideal for extreme lengths or if you’re rough on your hands.
- Thicker: More noticeable, but less prone to breaking.
- DIY-Friendly: Kits exist, but proceed with caution (and YouTube tutorials).
Gel Extensions:
- Flexible: Feels more natural and lightweight.
- Less Odor: No harsh chemical smells during application.
- Cured Under UV Light: Great if you’re impatient.
Verdict: Acrylics = durability; gels = subtlety. Choose your fighter.
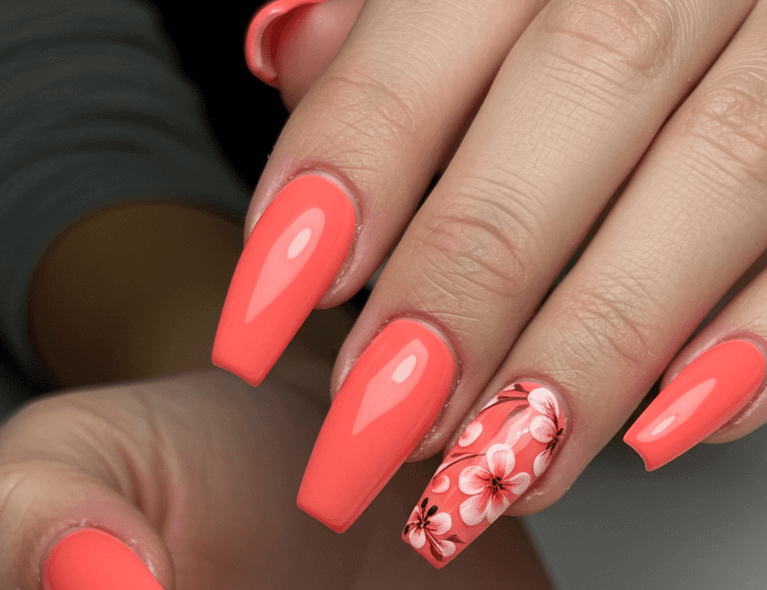
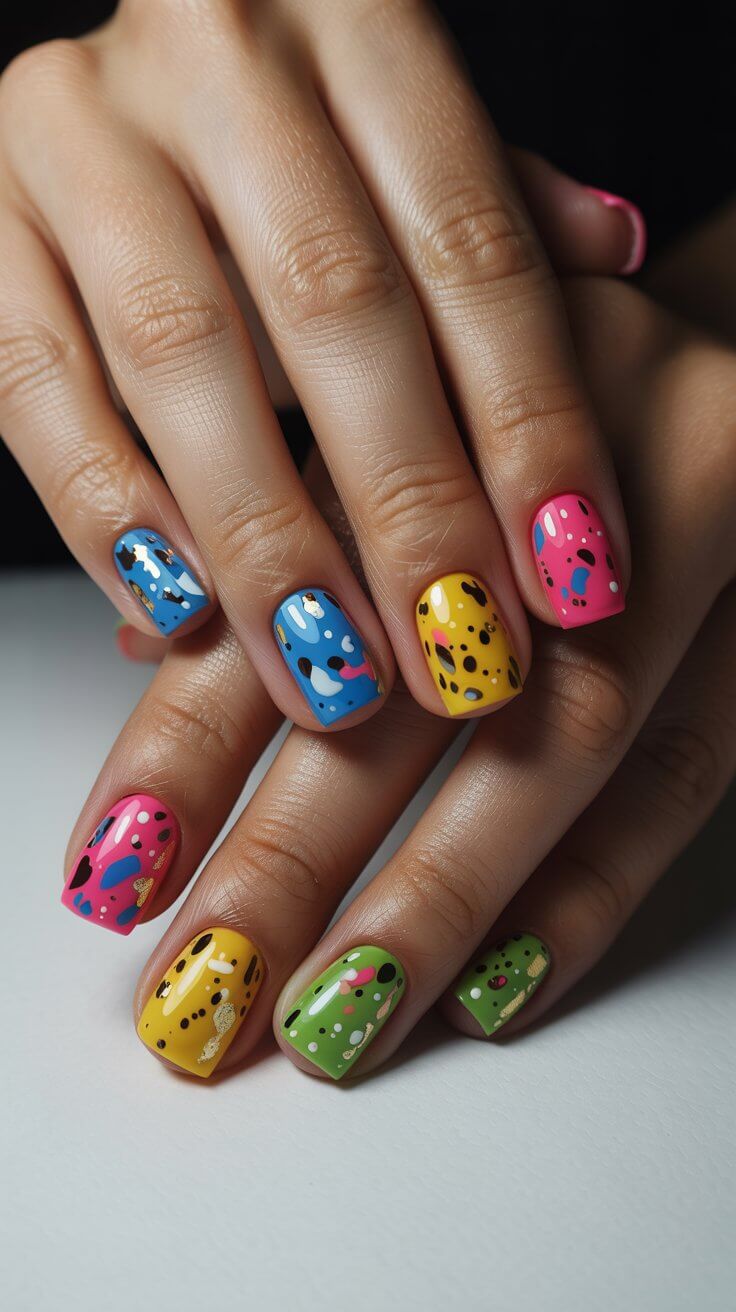
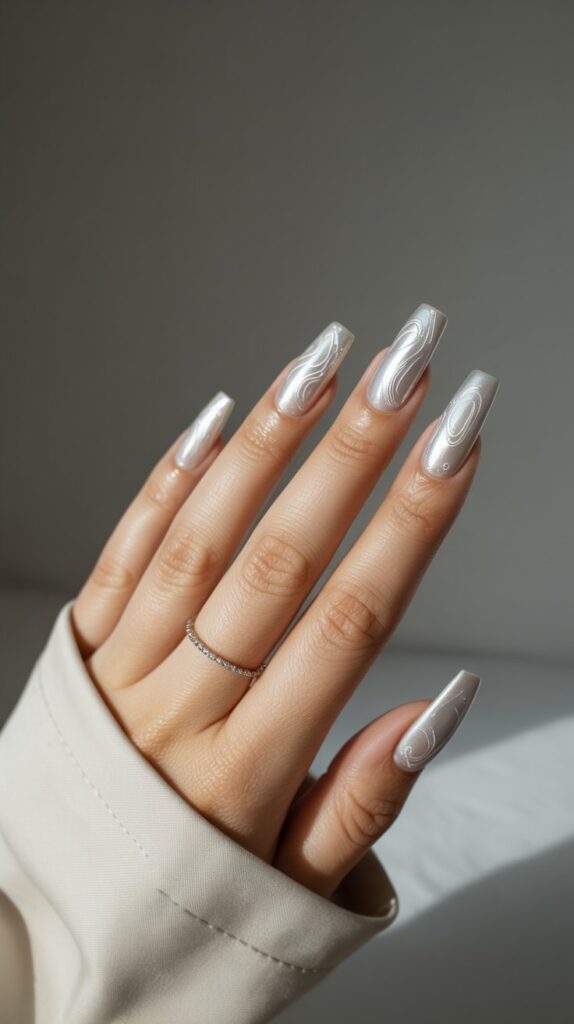
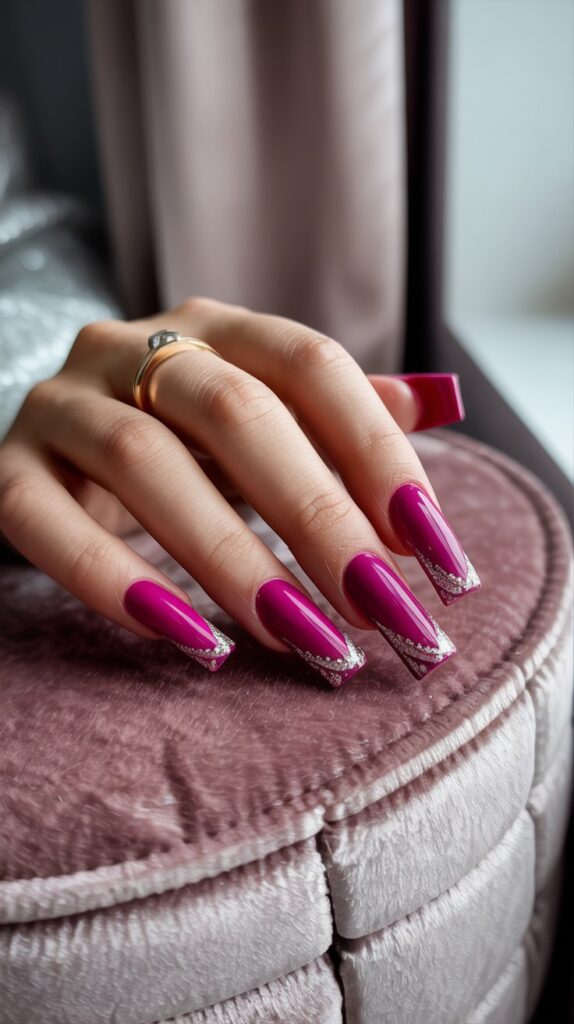
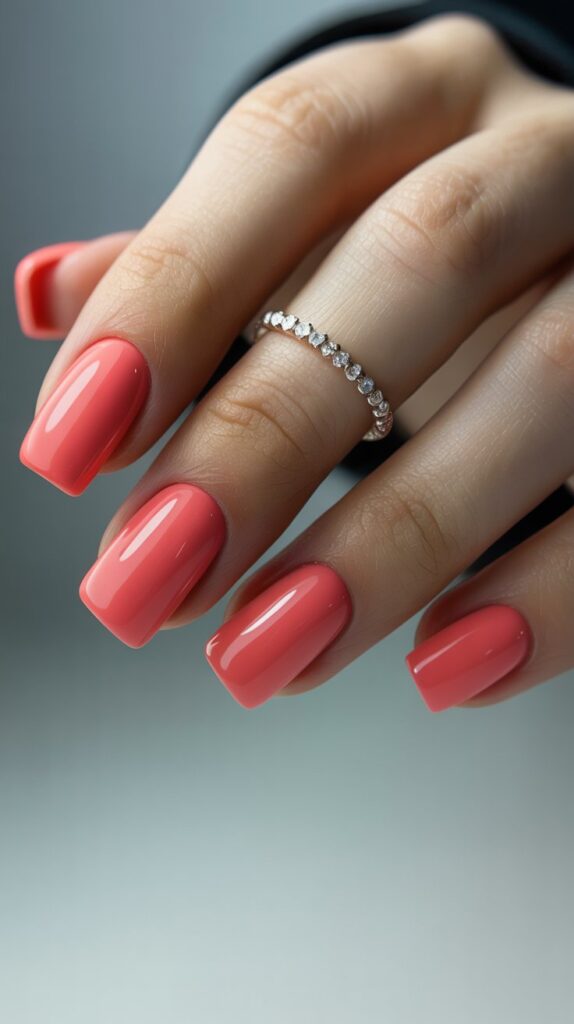
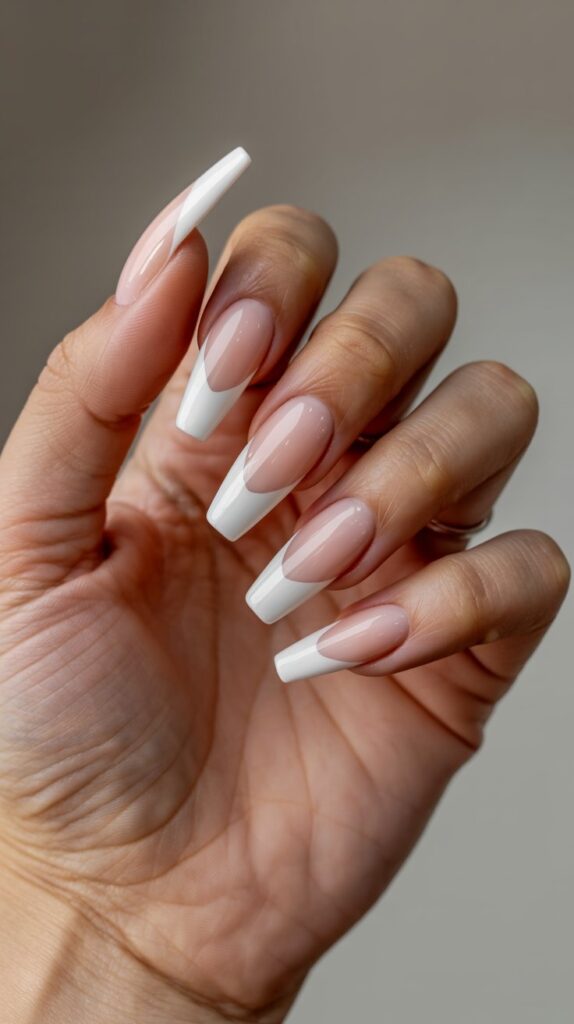
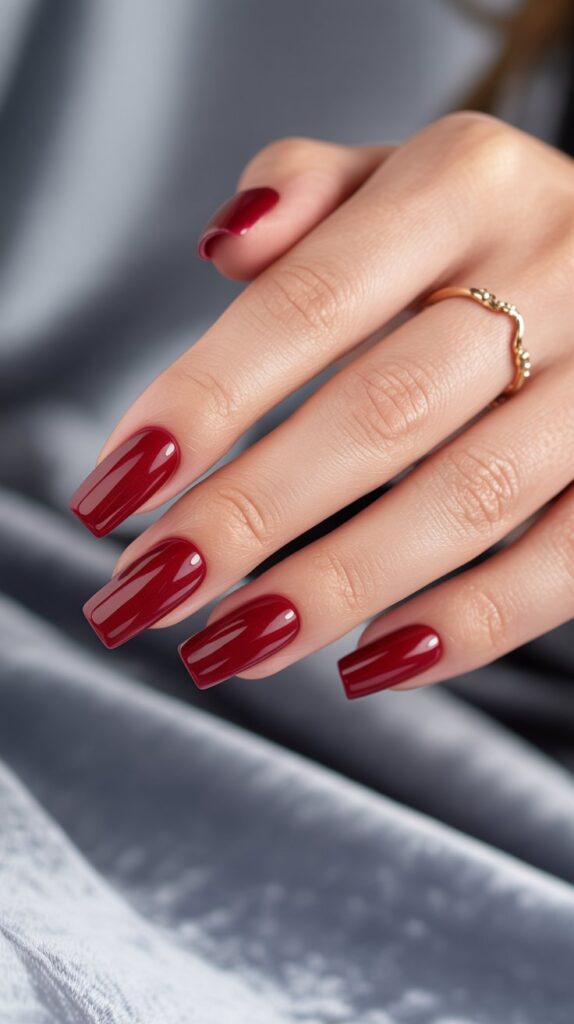
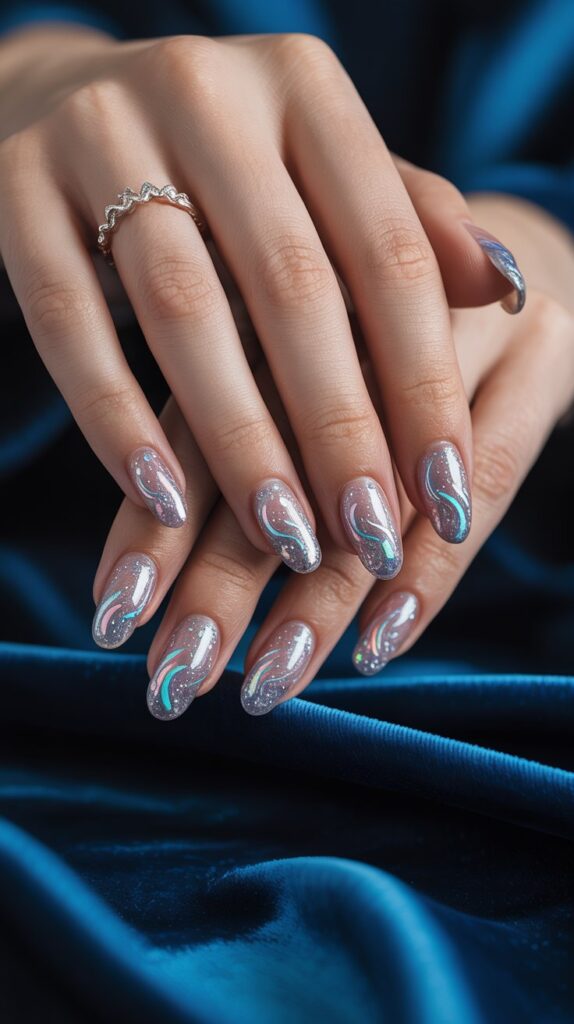
Choosing Your Acrylic Shape: It’s Not Just About Aesthetics
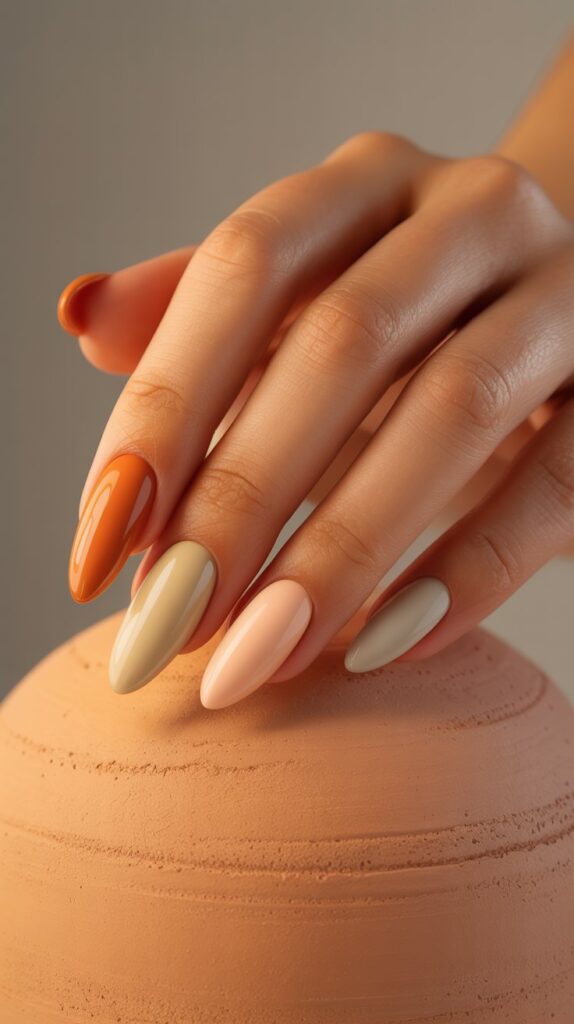
Picking a nail shape is like choosing a personality trait—do you want “boss babe stiletto” or “chill square”?
Spoiler: Your lifestyle matters more than Pinterest inspo. That coffin shape might look fire, but good luck typing without stabbing your keyboard.
Let’s decode which shape suits your vibe and your daily grind.
Shape Guide 101
- Almond: Elongates fingers, ideal for short hands.
- Stiletto: Edgy and fierce (but good luck texting).
- Coffin: Trendy and chic, but high-maintenance.
- Square: Classic and low-key, great for beginners.
Personal Fave: Almond. It’s like the “mom jeans” of nails—flattering on everyone.
Maintenance 101: Keep Those Claws Clapping
So you’ve got your acrylics. Now what? Think of them like a Tamagotchi—neglect them, and things get ugly fast.
Maintenance isn’t optional unless you’re cool with nails lifting like a bad toupee. Let’s talk cuticle oil, fill schedules, and why using your nails as screwdrivers is a one-way ticket to Snap City.
Do’s and Don’ts for Happy Nails
- DO:
- Moisturize daily (cuticle oil is your BFF).
- Get fills every 2–3 weeks to avoid lifting.
- Use a nail strengthener underneath.
- DON’T:
- Use them as tools (no prying open soda cans!).
- Skip the top coat—chips are tragic.
- File too aggressively. Thin nails = snap city.
Personal Hack: Sleep with cotton gloves and moisturizer. Sounds extra, but your nails will thank you.
Common Mistakes: Learn From My Pain
Let’s skip the awkward phase where your nails look like a toddler’s art project. I’ve made every mistake so you don’t have to—from ignoring lifties (RIP my green nail bed) to treating my tech like a discount bin. Consider this your cheat sheet for avoiding acrylic disasters.
Blunders to Avoid
- Ignoring Lifties: Lifted acrylics trap water and bacteria. Cue green gunk (yes, really).
- Cheaping Out: A $20 salon special? Expect lumpy, MMA-filled nightmares.
- Overfiling: Your natural nail isn’t a lumberjack’s project. Gentle strokes only!
Safe Removal: Don’t Go Rogue
Tempted to peel them off? Don’t. I know, the grown-out look is tragic, but ripping acrylics is like breakdancing on ice—spectacularly bad idea.
Let’s walk through the right way to say goodbye without turning your nails into shredded wheat.
Step-by-Step Removal
- Soak It Out: Use pure acetone (not polish remover!) on cotton balls, wrapped in foil for 20–30 mins.
- Gently Scrape: A wooden stick helps lift softened acrylic. No metal tools—they scratch!
- Hydrate Like Crazy: Post-removal, your nails will be thirsty. Slather on oil and take a break.
PSA: If your nails look like shredded paper afterward, you did it wrong.
The Cost Breakdown: Are Acrylics Bank-Breakers?
Let’s talk money. Acrylics aren’t cheap, but here’s the tea: you’re paying for art, not just nail glue.
A skilled tech is like a Michelangelo for your fingertips, except instead of the Sistine Chapel, you get bedazzled talons. But is it worth skipping avocado toast for?
What You’re Paying For
- Salon Expertise: A skilled tech is worth their weight in glitter.
- Quality Products: MMA-free liquids and powders = safer nails.
- Time: A full set takes 1–2 hours.
Budget Tip: Skip the latte habit for a week. Priorities, right?
DIY Acrylic Kits: Yay or Nay?
Tempted to save cash and DIY? Let me stop you right there. Sure, those Amazon kits look promising, but acrylics are not “paint by numbers.” Unless you’re cool with lumpy nails and chemical burns, proceed with caution. Here’s the unfiltered truth about playing nail tech at home.
Pros vs. Cons
- Pros:
- Cheaper upfront.
- Fun for crafty folks.
- Cons:
- Steep learning curve (RIP my first lumpy set).
- Risk of overexposure to fumes.
Verdict: Leave it to the pros unless you’re extremely patient.
The Environmental Impact: Not So Pretty
Acrylics aren’t exactly eco-friendly. Between the chemical waste, disposable tools, and non-recyclable materials, it’s a sustainability nightmare. But hey, awareness is the first step! Let’s explore greener alternatives that let you slay and save the planet (or at least feel less guilty).
Green Alternatives
- Bio-gel nails: Less toxic and soak-off friendly.
- Reusable nail forms: Reduce single-use plastic.
- Eco-conscious salons: Ask about their recycling policies!
Final Thoughts: Nail It or Bail It?
Acrylics can be a game-changer, if you’re ready for the commitment. They’re durable, customizable, and perfect for anyone craving drama.
But respect the process: Find a skilled tech, prioritize nail health, and never skip fills.
Still on the fence? Try a short set first. Worst case, you’ll have a solid story (and maybe a meme-worthy photo).
Got questions or horror stories? Drop ’em below. Let’s keep the convo flawless.