14 Irresistible Pink Ombre Nail Styles You’ll Want to Copy ASAP
Hey there, nail bestie! Stuck in a polish rut, staring at your tips and dreaming of something more than just a solid color? Girl, I feel you.
Sometimes you need that perfect blend of cute and fierce, and honestly, pink ombre nails are basically the universe’s gift to our fingertips. They’re versatile, they’re flirty, they’re downright addictive.
Forget scrolling endlessly for inspo. I’ve rounded up some 14 absolute showstoppers that’ll have you racing to your nail tech (or your polish stash) faster than you can say “glitter gradient.”
Let’s get these digits dreamy!
1. Baby Blush to Ballet Slipper
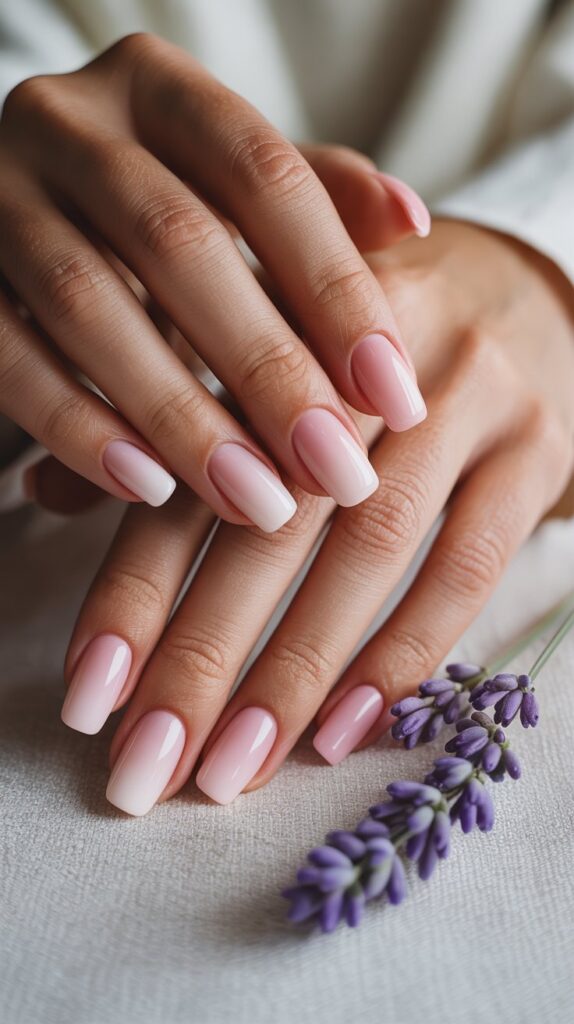
This is soft girl aesthetic perfection. Think barely-there pink fading into a slightly deeper, but still oh-so-delicate, ballet slipper hue. It’s elegant, understated, and looks amazing on every skin tone.
Why it’s a must-try:
- Ultra-flattering and universally chic. Seriously, it never looks bad.
- Gives the illusion of longer, more graceful nails.
- Perfect for weddings, job interviews, or just feeling like a sophisticated queen.
- Works beautifully short or long.
Personal fave: This was my go-to for weeks after I chopped my nails short. It made my nubs look instantly elegant and put-together. Total lifesaver!
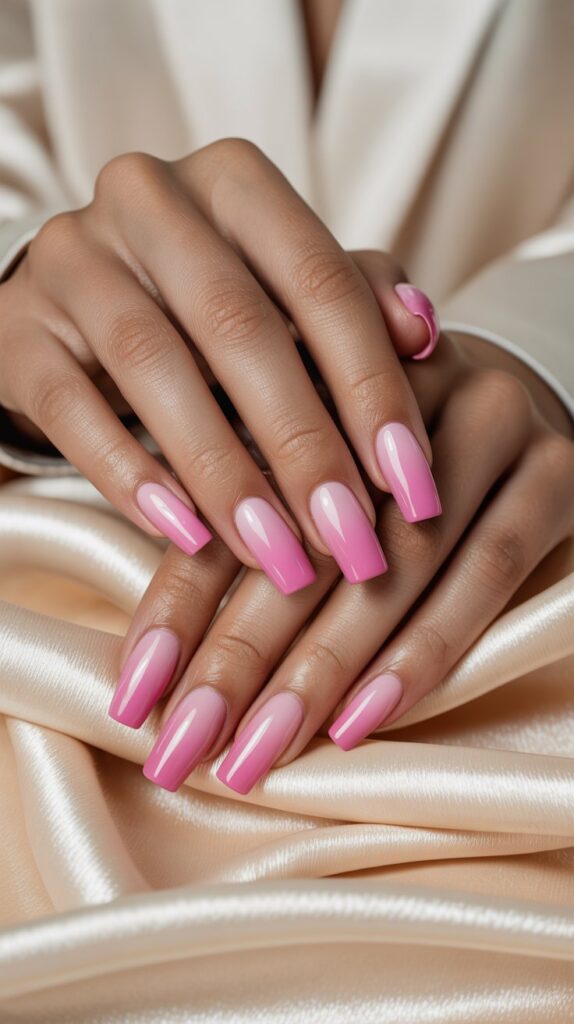
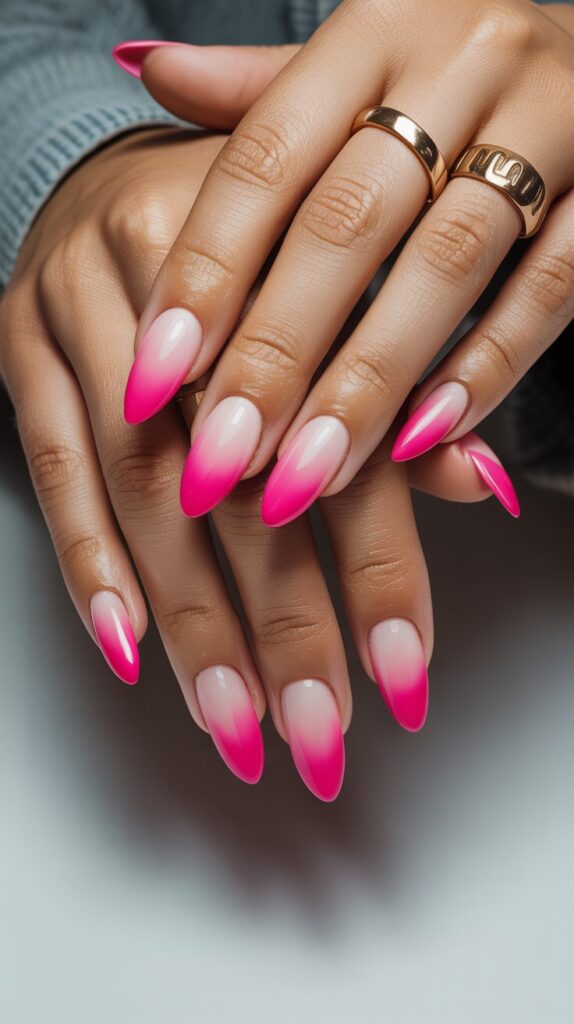
2. Bubblegum Pop to Hot Pink
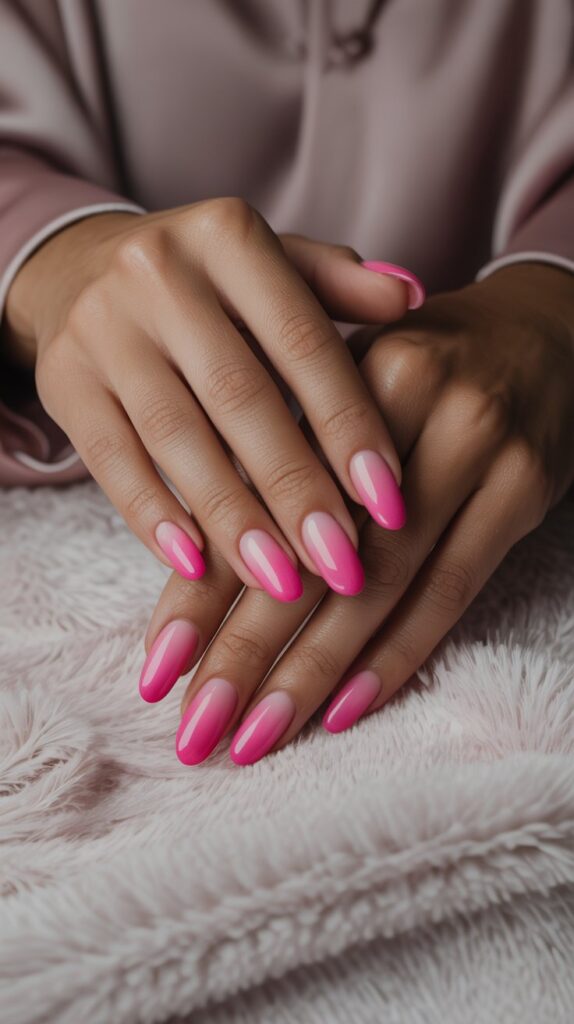
Ready to make a statement without going full neon? This combo is pure, sugary fun. It starts with a bright, playful bubblegum pink and intensifies to a vibrant hot pink at the tips. Instant mood boost!
How to rock it:
- Use a dense makeup sponge for the smoothest blend between the two pinks.
- Clean up the cuticles with a small brush dipped in acetone before top coat for sharp lines.
- Shiny top coat is non-negotiable here for maximum candy-coated appeal.
- Ideal for festivals, pool parties, or when you just need extra joy.
Pro tip: Layer your polishes! Apply the lighter pink as a base first, let it dry, then sponge the gradient. It makes the colors pop harder, IMO.
3. Dusty Rose to Mauve Magic
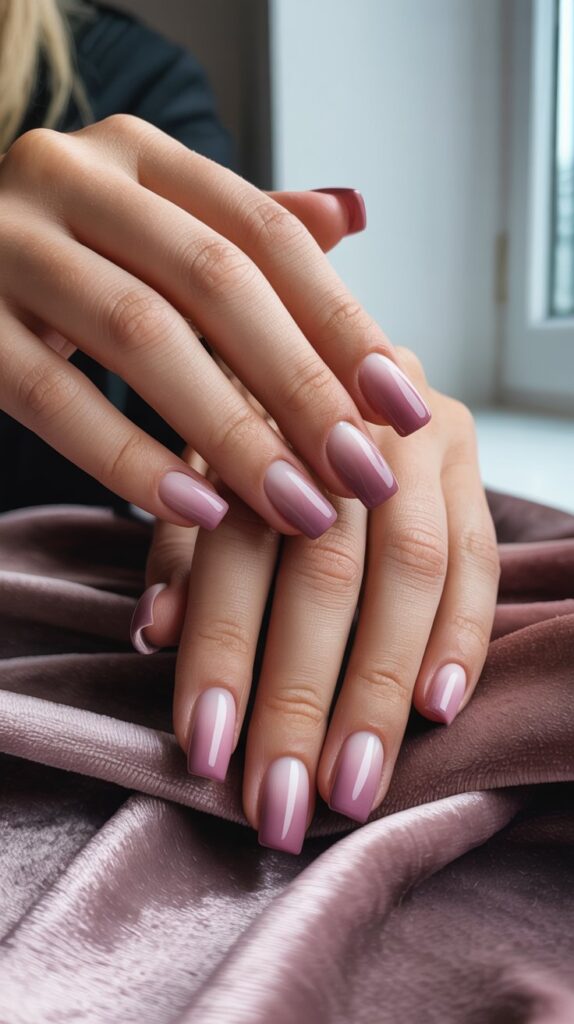
Calling all lovers of muted, earthy tones! This blend of soft dusty rose fading into a deeper, sophisticated mauve is pure autumn/winter vibes, but honestly? I’d wear it year-round.
Why it works so well:
- Chic and mature without being boring.
- Complements cooler skin tones beautifully.
- The subtle gradient adds depth and interest.
- Pairs amazingly with chunky knits and gold jewelry.
Downside? Can look a tad muddy if the shades aren’t distinct enough. Swatch test those polishes side-by-side first!
4. Frosted Berry with Icy Tips
Imagine juicy raspberry fading into a shimmering, almost translucent icy pink. It’s like winter berries kissed by frost. So pretty, it almost hurts.
How to nail this frosty look:
- Start with a creamy berry base.
- Blend upwards into a sheer pink glitter or a fine shimmer polish for the icy effect.
- A glossy top coat seals the deal, making it look wet and frozen.
- Bonus points for an iridescent flakie top coat scattered lightly.
Story time: I wore this for a holiday party and spent half the night staring at my nails under the fairy lights. No regrets. The sparkle shift was hypnotic.
5. Neon Barbie Dream Fade
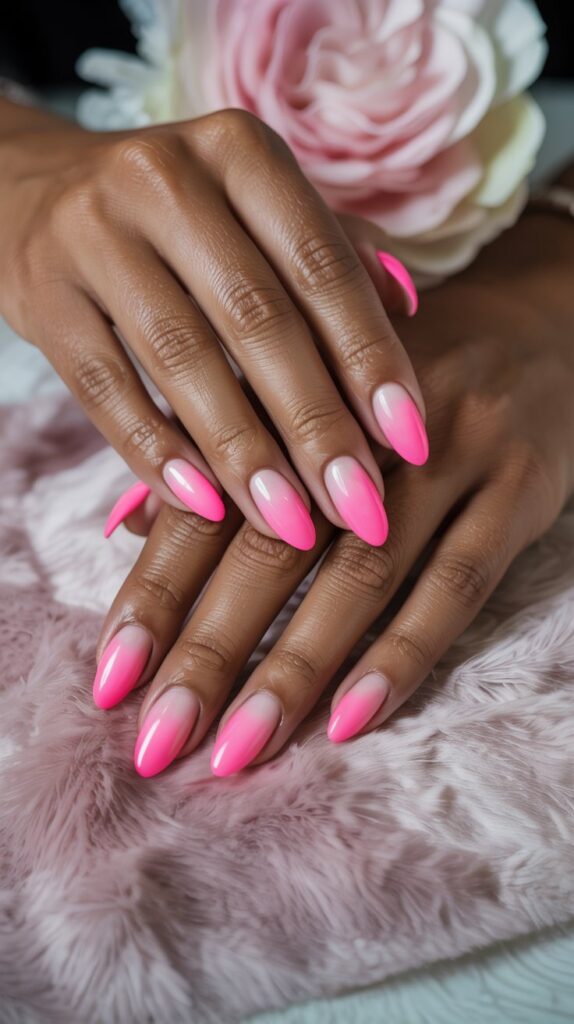
Channel your inner Barbie with zero apologies! Electric bright pink at the base fading up into an even more intense, screaming neon pink at the tips. It’s bold, it’s fun, it’s unmissable.
Why it’s a must-try (for the brave!):
- Maximum impact, minimum effort (gradient-wise, at least!).
- Guaranteed to turn heads and start conversations.
- Instant summer vacation vibes, even in February.
- Looks killer with a tan (real or faux!).
Pro move: Use a white base coat under your neons. It makes the colors truly pop and glow, trust me. Otherwise, they can look kinda sad.
6. Blush Pink with Glitter Gradient
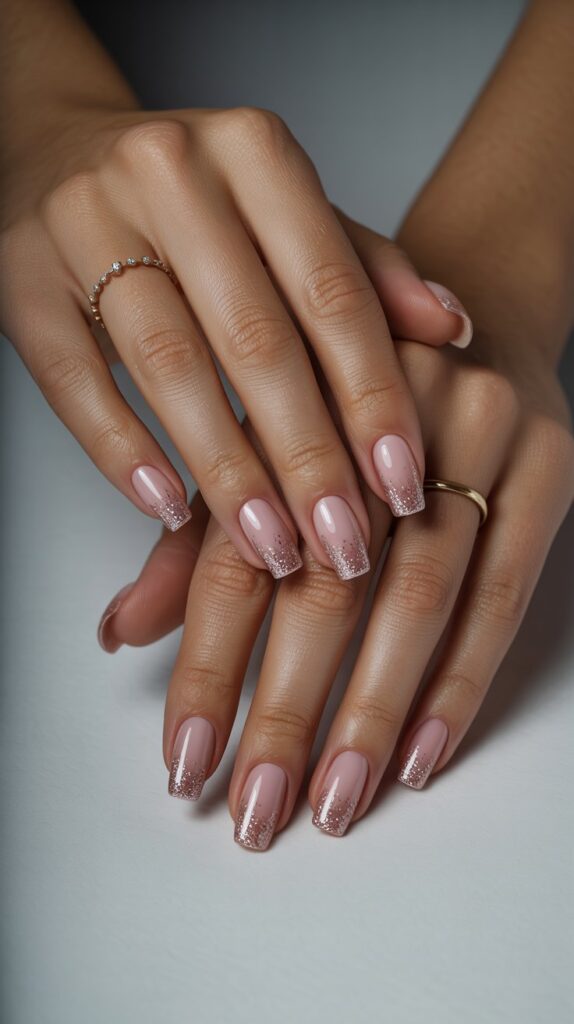
Classic soft pink base? Check. But the magic happens as it gently fades into a sheer wash of fine pink glitter concentrated at the tips. Subtle sparkle for the win!
How to get this ethereal look:
- Paint your nails a soft, creamy blush pink.
- Using a sponge, dab a sheer glitter polish just on the top third of your nail, blending slightly downwards.
- Avoid chunky glitter for this – you want a delicate haze.
- Perfect for brides, brunches, or just feeling ethereal.
Personal take: This is my ultimate “look expensive without trying too hard” mani. It’s effortlessly chic and catches the light beautifully.
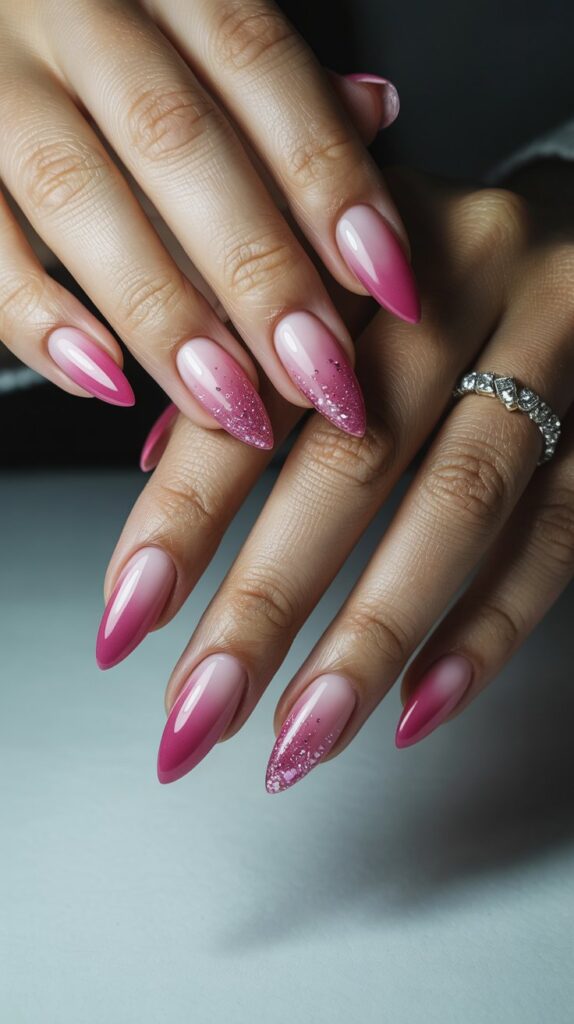
7. Deep Fuchsia to Magenta Melt
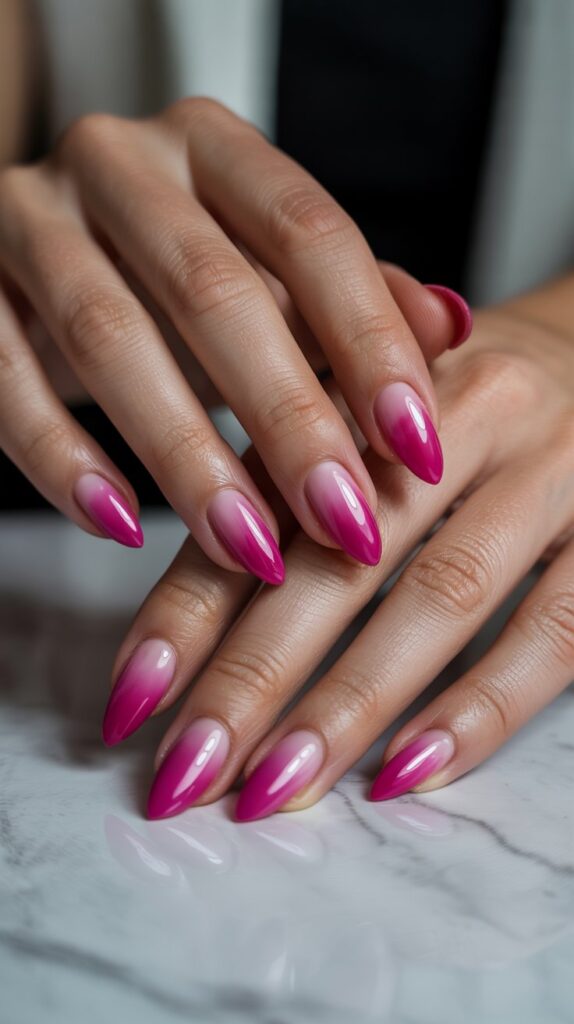
Rich, luxurious, and a little bit vampy. Deep fuchsia at the cuticle melting seamlessly into a vibrant magenta at the free edge. It’s sophisticated with a serious punch.
Why it works:
- Deepens shorter nails and makes them look sleek.
- Feels glamorous and evening-appropriate.
- The color transition is surprisingly flattering.
- Less expected than a classic red ombre, but just as powerful.
Pro tip: Clean up your cuticles extra well with this one. Crisp lines make the deep colors look polished, not messy. A little cuticle oil afterwards? Chef’s kiss.
8. Cotton Candy Clouds (Pink & White)
The ultimate sweet treat for your nails! Fluffy pastel pink seamlessly blending into pure, clean white at the tips. It’s soft, dreamy, and impossibly cute.
How to make it look seamless (not streaky):
- Use slightly thicker polishes or layer more coats when sponging – thin formulas can be patchy.
- Blend, blend, blend with your sponge! Overlap the colors generously.
- A high-gloss top coat erases any minor imperfections and gives that candy shell shine.
- Ideal for spring, Easter, or just embracing your inner unicorn.
Downside? White tips can show chips faster. Bring your top coat for quick touch-ups!
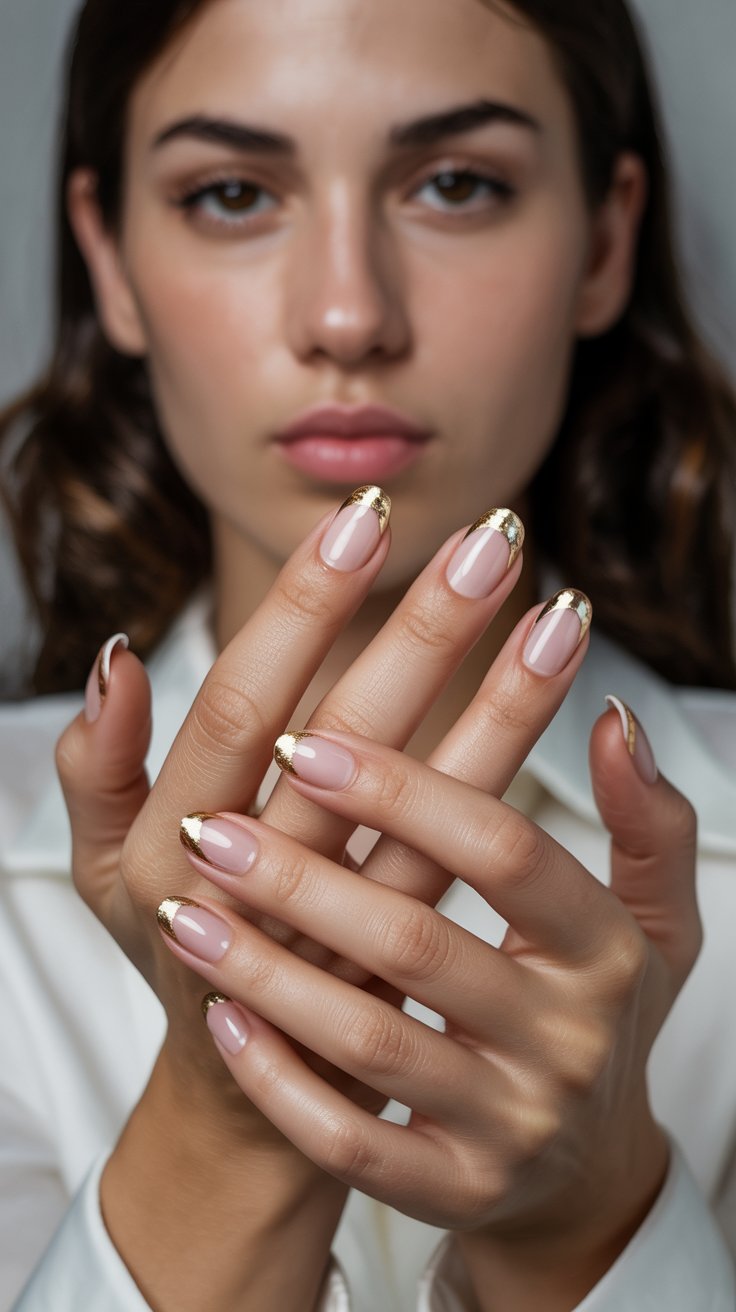
9. Rose Gold Goddess

Warm metallic perfection. This blends a soft peachy-pink base up into a stunning, reflective rose gold. It’s luxe, it’s warm, it’s basically jewelry for your nails.
Why it’s a must-try:
- Adds instant warmth and richness to your hands.
- Catches the light like nobody’s business.
- Looks incredibly expensive and polished.
- Complements gold jewelry like a dream.
Personal story: I wore this for my anniversary dinner and felt like a million bucks. The rose gold shimmer under candlelight? Unreal. 10/10 recommend for a special date.
10. Millennial Pink to Lilac Dream
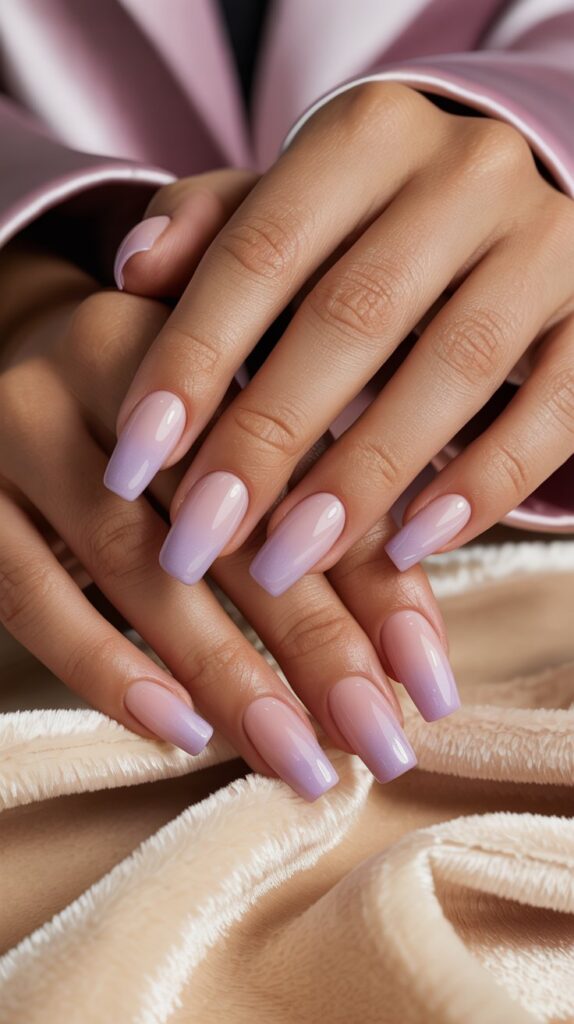
Nostalgia meets modern cool. That iconic dusty millennial pink fading gently into a soft, calming lilac. It’s unexpectedly chic and super wearable.
Why it works:
- Unique color combo that stands out from pure pink ombres.
- Cool-toned and incredibly soothing.
- Feels artistic and fashion-forward.
- Great transition from winter to spring.
Pro move: If your lilac leans too blue, mix a tiny drop of your millennial pink into it before sponging for a smoother gradient. Blending similar undertones is key!
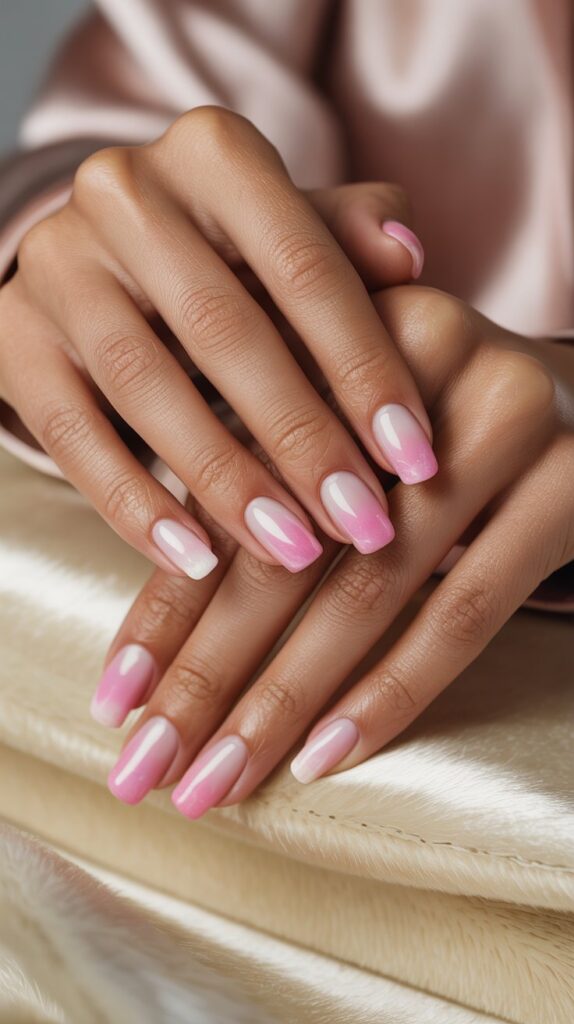
11. Hot Pink Tips (Reverse Ombre)
Flip the script! Instead of dark to light at the tips, go light at the base (think soft pink or even nude) and build intensity to bold hot pink at the free edge. It’s edgy and fresh.
How to rock the reverse:
- Start with your lightest shade near the cuticle.
- Sponge the hot pink downwards, concentrating most of the color on the tip half.
- Creates a cool, “grown-out” but intentional look.
- Perfect for adding a pop of color without overwhelming shorter nails.
Personal take: I love this for when I want something funky but still relatively low-key (well, as low-key as hot pink tips can be!). It feels modern.
12. Sparkling Sangria with Gold Flakes
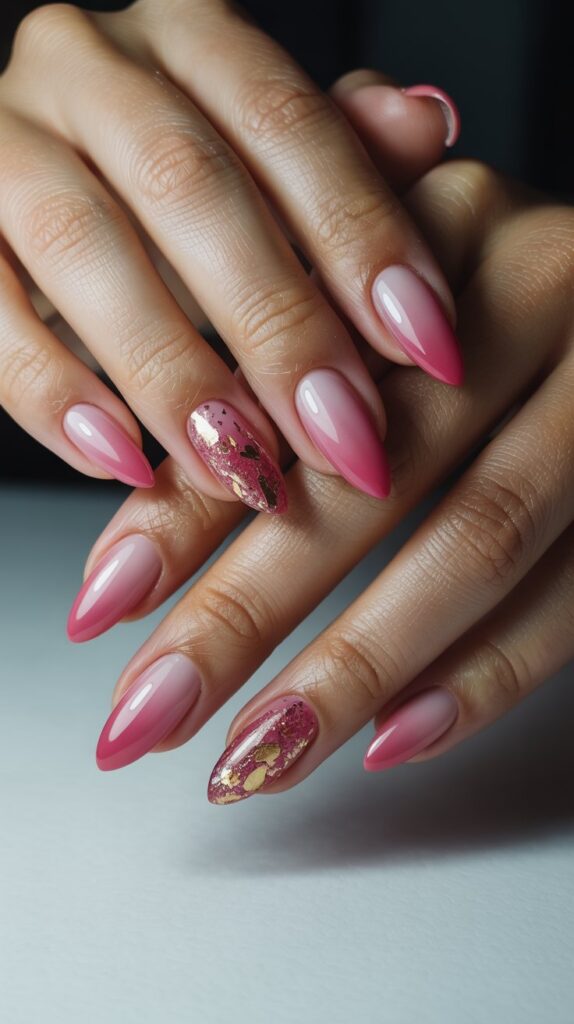
Deep, wine-inspired pink fading up, but here’s the twist: incorporate tiny gold flakes into the gradient, concentrating them towards the tips. It’s luxe, textured, and totally eye-catching.
How to achieve this decadent look:
- Blend your deep pink shades as usual.
- While the gradient is still slightly tacky, gently press gold leaf flakes onto the tips and upper blend area.
- Seal everything thoroughly with a thicker top coat or gel top coat to prevent flakes from lifting.
- Ideal for holiday parties, birthdays, or when you deserve extra sparkle.
FYI: This is definitely a salon or “patient DIYer” job. Those flakes can be fiddly!
13. Matte Pink Velvet Ombre
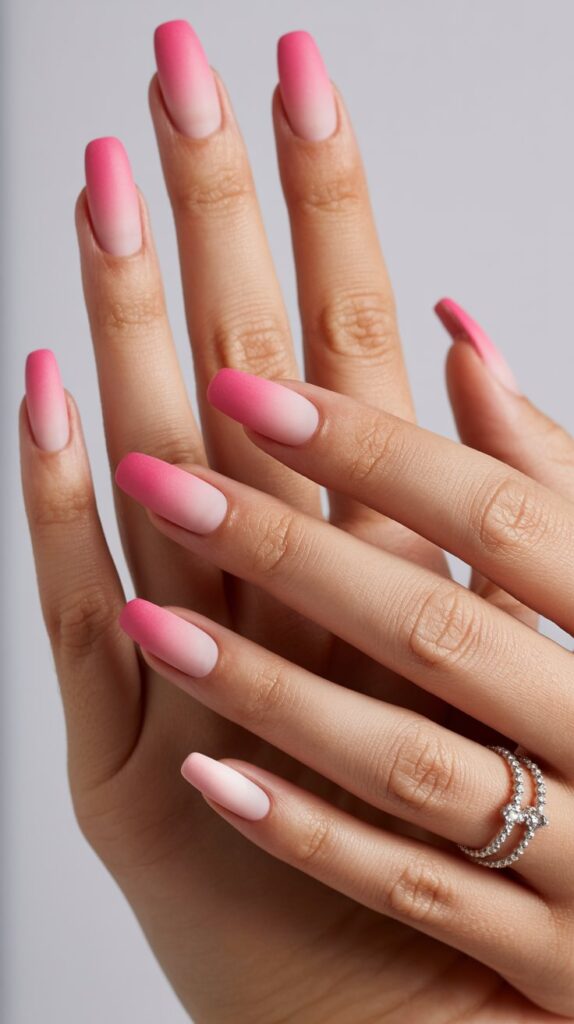
Soft pink fading into a deeper pink, but all finished with a rich matte top coat. It’s sophisticated, modern, and feels incredibly luxe – like suede for your nails.
Why it’s a must-try:
- The matte finish elevates the ombre, making it look expensive and artistic.
- Hides minor imperfections in the blend better than gloss sometimes.
- Unique texture that stands out in a sea of shiny nails.
- Feels incredibly chic and minimalist.
Pro tip: Clean your nails extra well before applying the matte top coat – any oils or residue can make it look patchy. And avoid touching your face too much; matte shows oils more!
14. Candy Floss Chrome
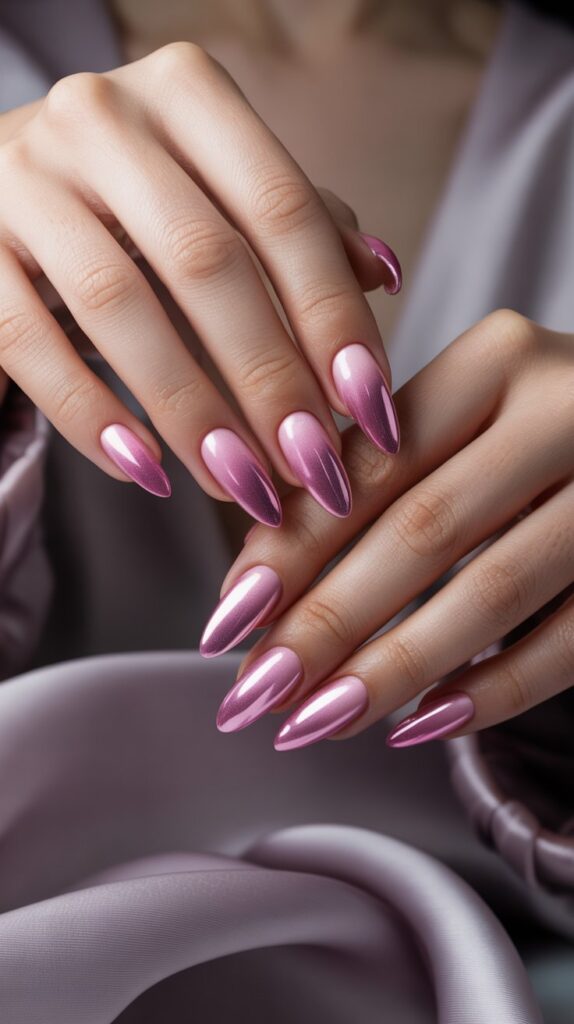
Picture the softest baby pink ombre, but then BAM – hit it with a pink chrome powder over the top coat while it’s still tacky. The result? A seamless gradient that shines with a mesmerizing metallic, holographic sheen. Mind. Blown.
How to make it magic:
- Create your perfect baby pink ombre base (gel polish works best for this).
- Apply a no-wipe gel top coat and cure it only about 90% (check lamp instructions!).
- Immediately buff on your chosen pink chrome powder with a silicone applicator.
- Seal with another thin layer of top coat (cure fully this time!).
- Prepare for constant staring at your own hands.
Personal fave: Okay, this might be my ultimate favorite. The first time I tried pink chrome over an ombre, I nearly cried. It’s THAT stunning. Worth the extra step, I promise!
Lets Wrap Up The Pink Ombre Adventure
From barely-there blushes to full-on neon explosions, and everything sparkly, matte, or chrome in between, there’s literally a pink ombre dream waiting for your fingertips.
And the best part? There’s no wrong choice here. Every single one of these styles is a guaranteed head-turner.
So, what’s holding you back? Seriously, nail bestie! Is it commitment issues? Fear of the sponge? Tell your inner critic to take a hike. Grab those pinks, book that appointment, or grab your DIY tools.
Your fingers deserve their main character moment. Go unleash some ombre magic! And hey… send me pics when you do!